Quick Start
If you don't have have access to the docker image or don't have access to the iOS sdk repository, please contact us at [email protected].
Here is how you can setup the Mobile SDK and perform MPC operations in less than a minute.
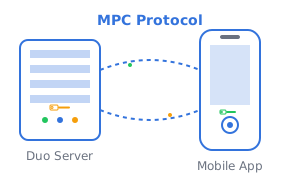
You will create a working MPC two-party setup, where the first party, an iOS application interacts with Duo Server as a second party. We are providing a demo server endpoint for your convenience.
What you'll build
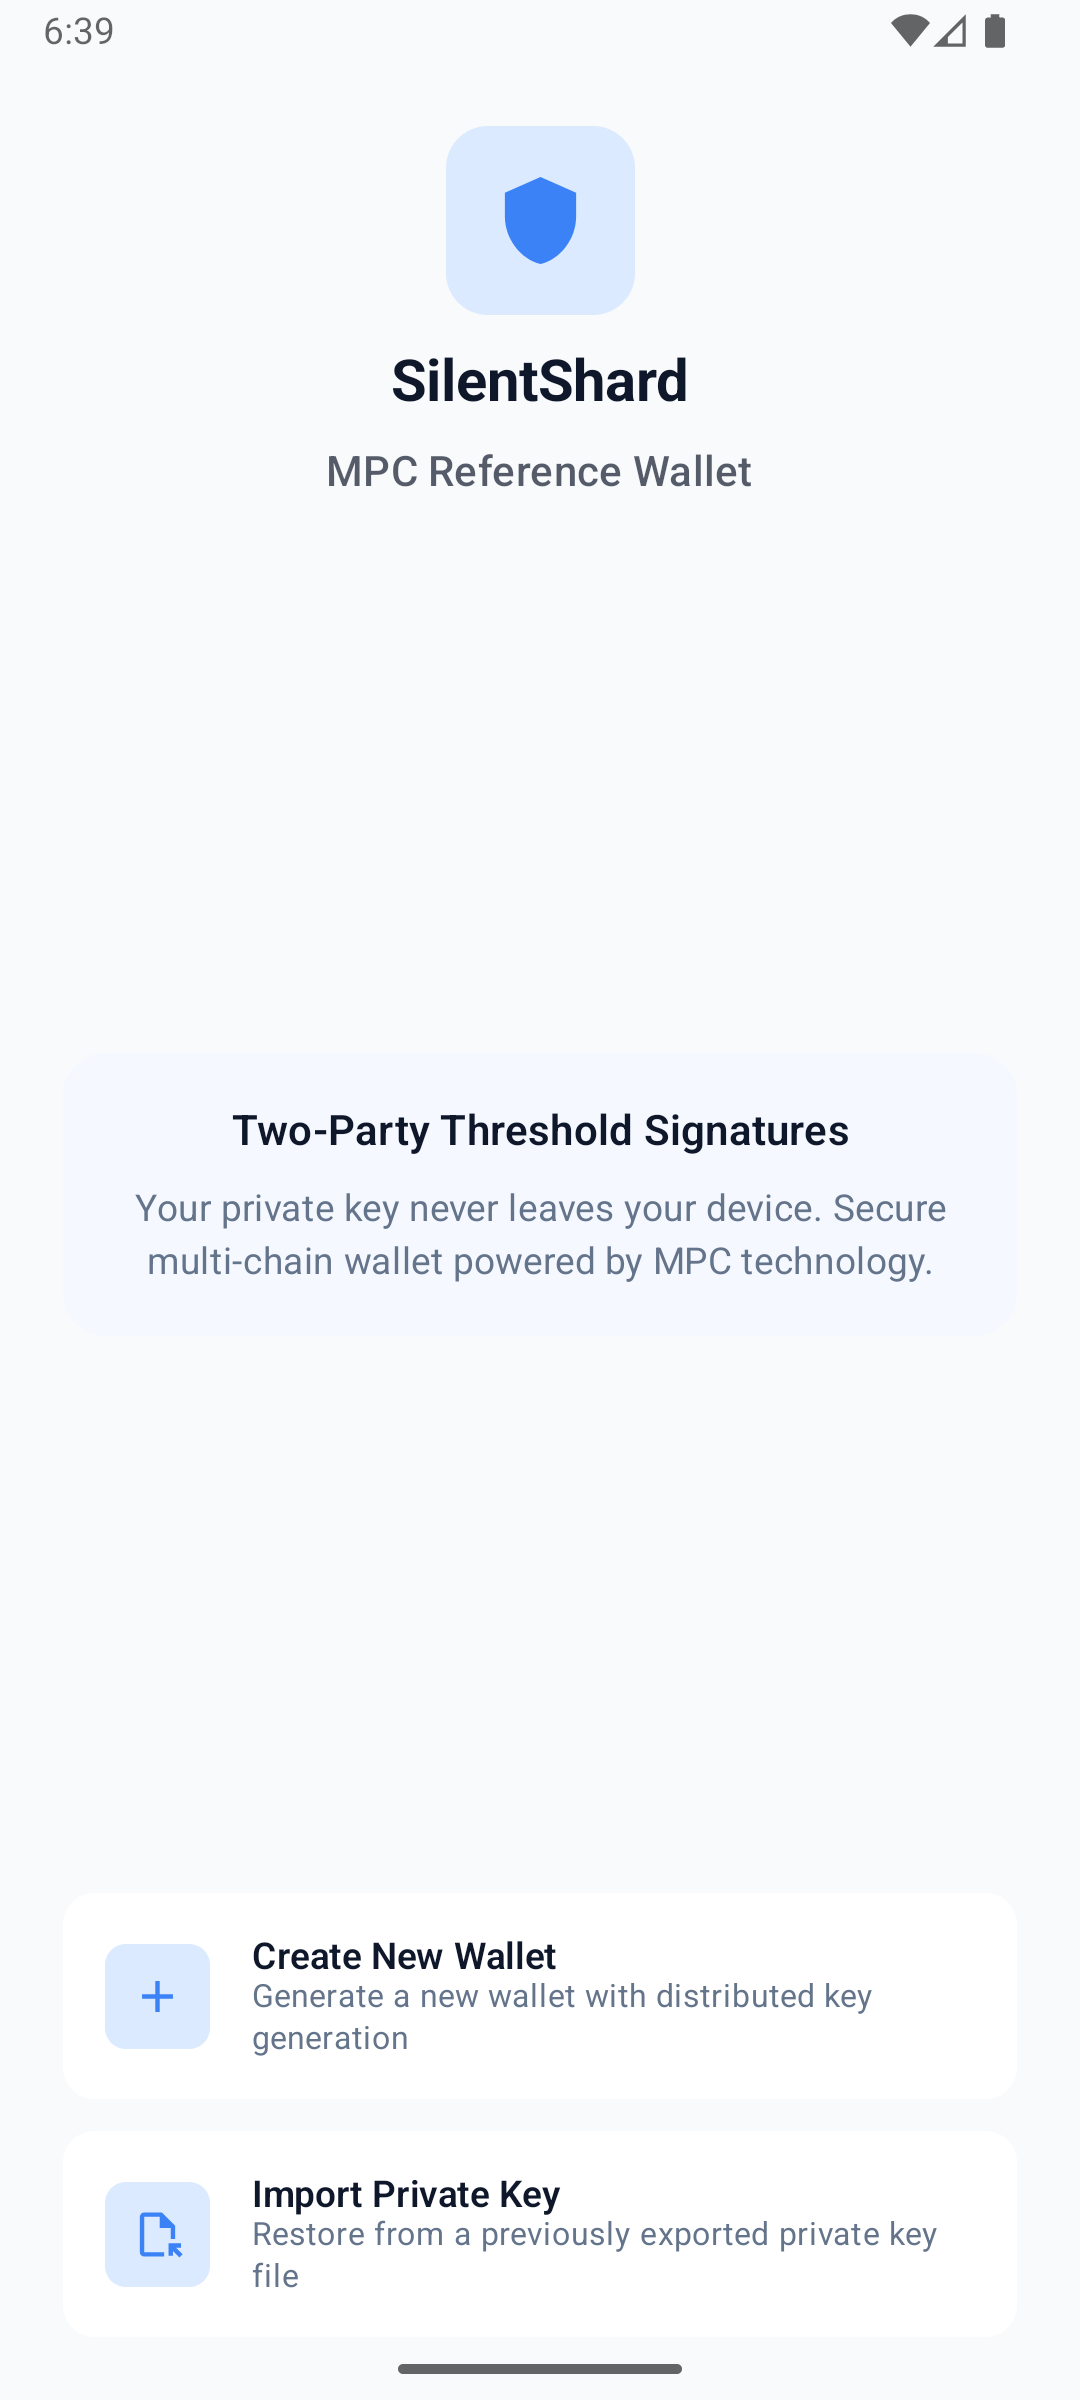
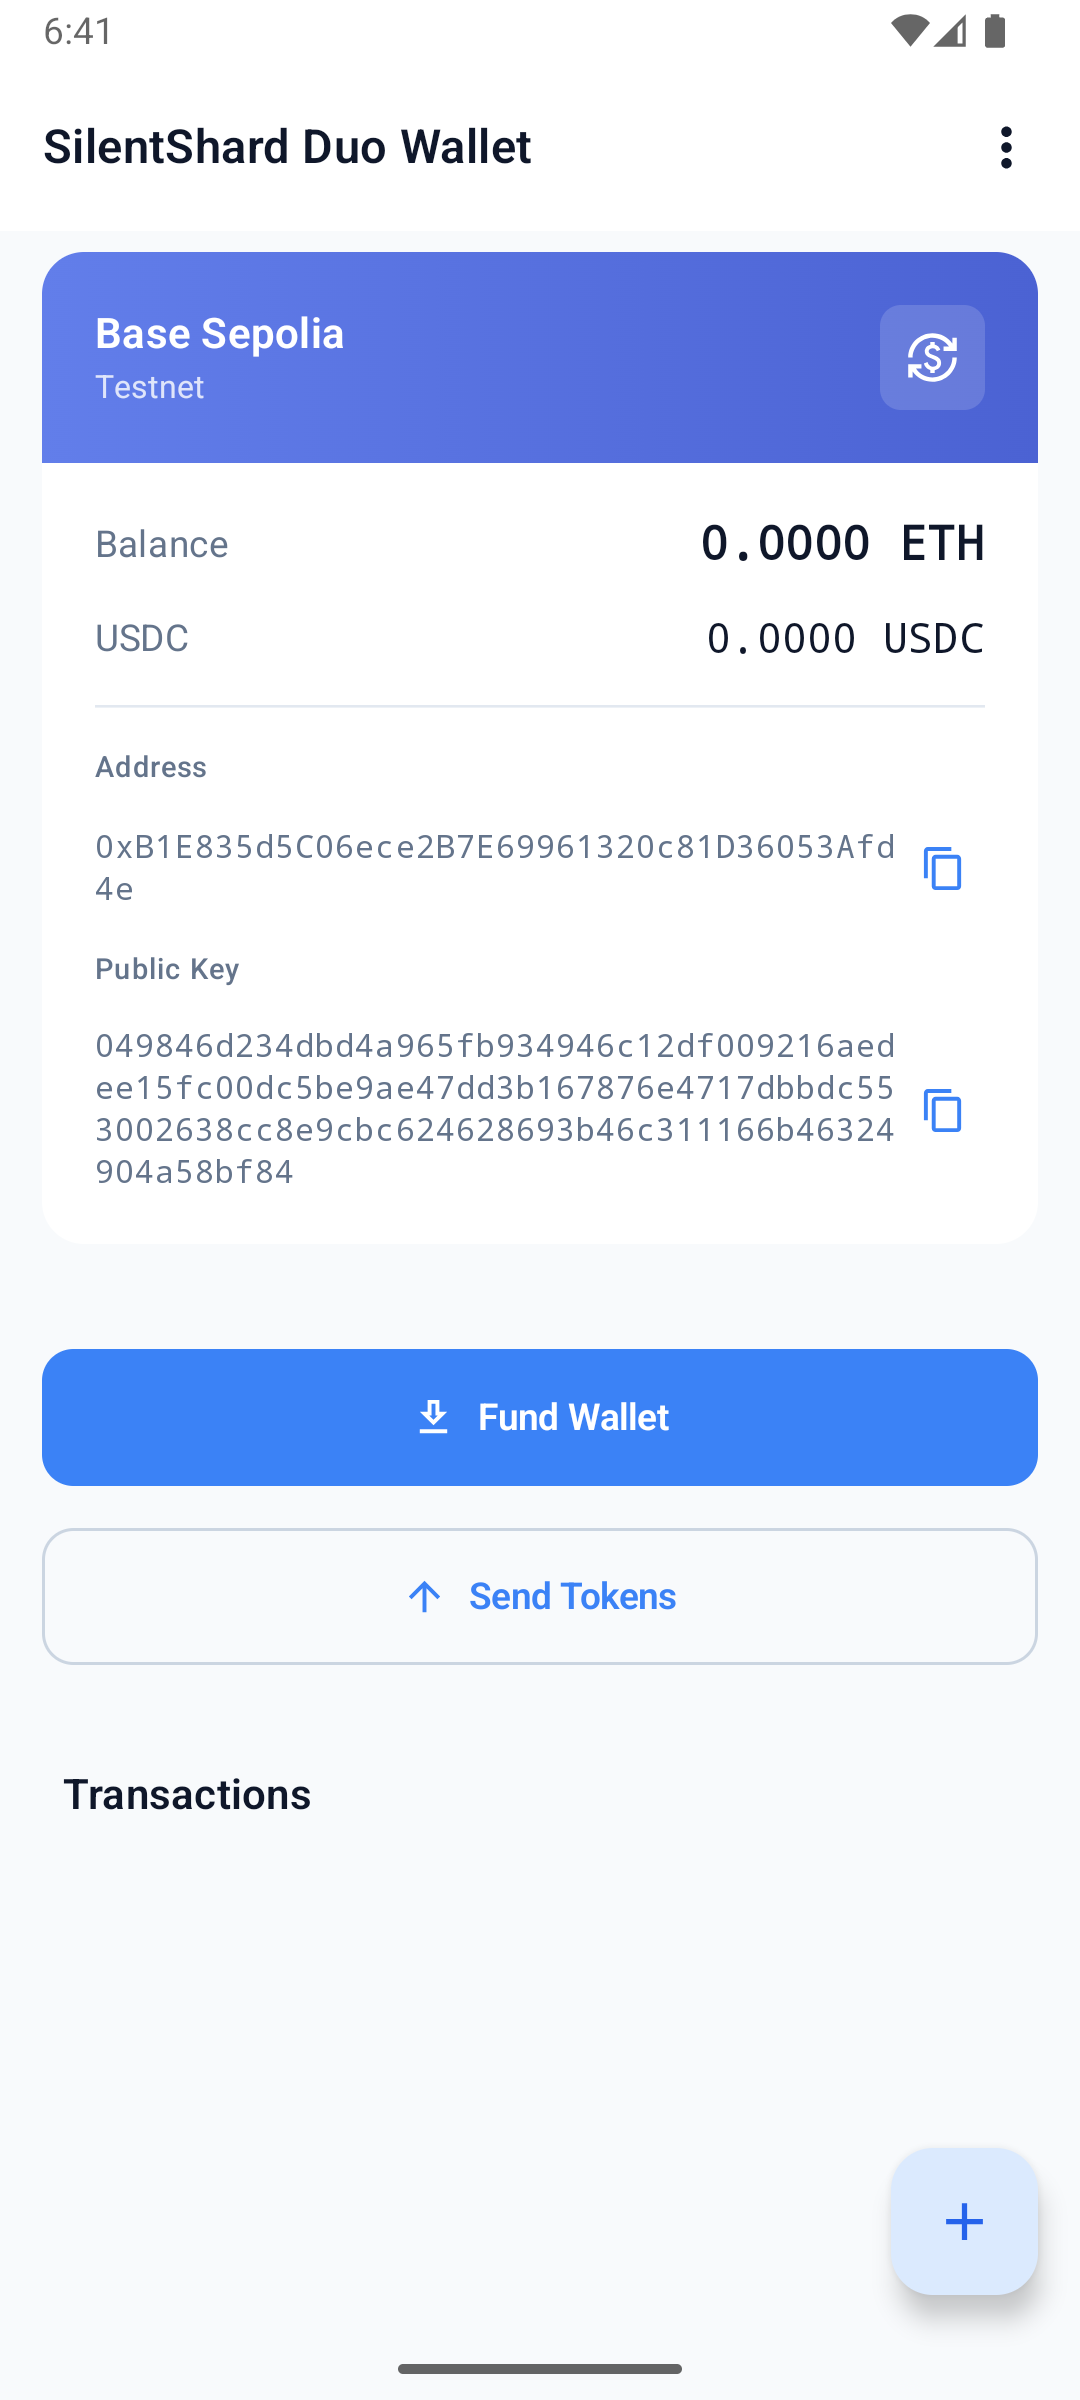
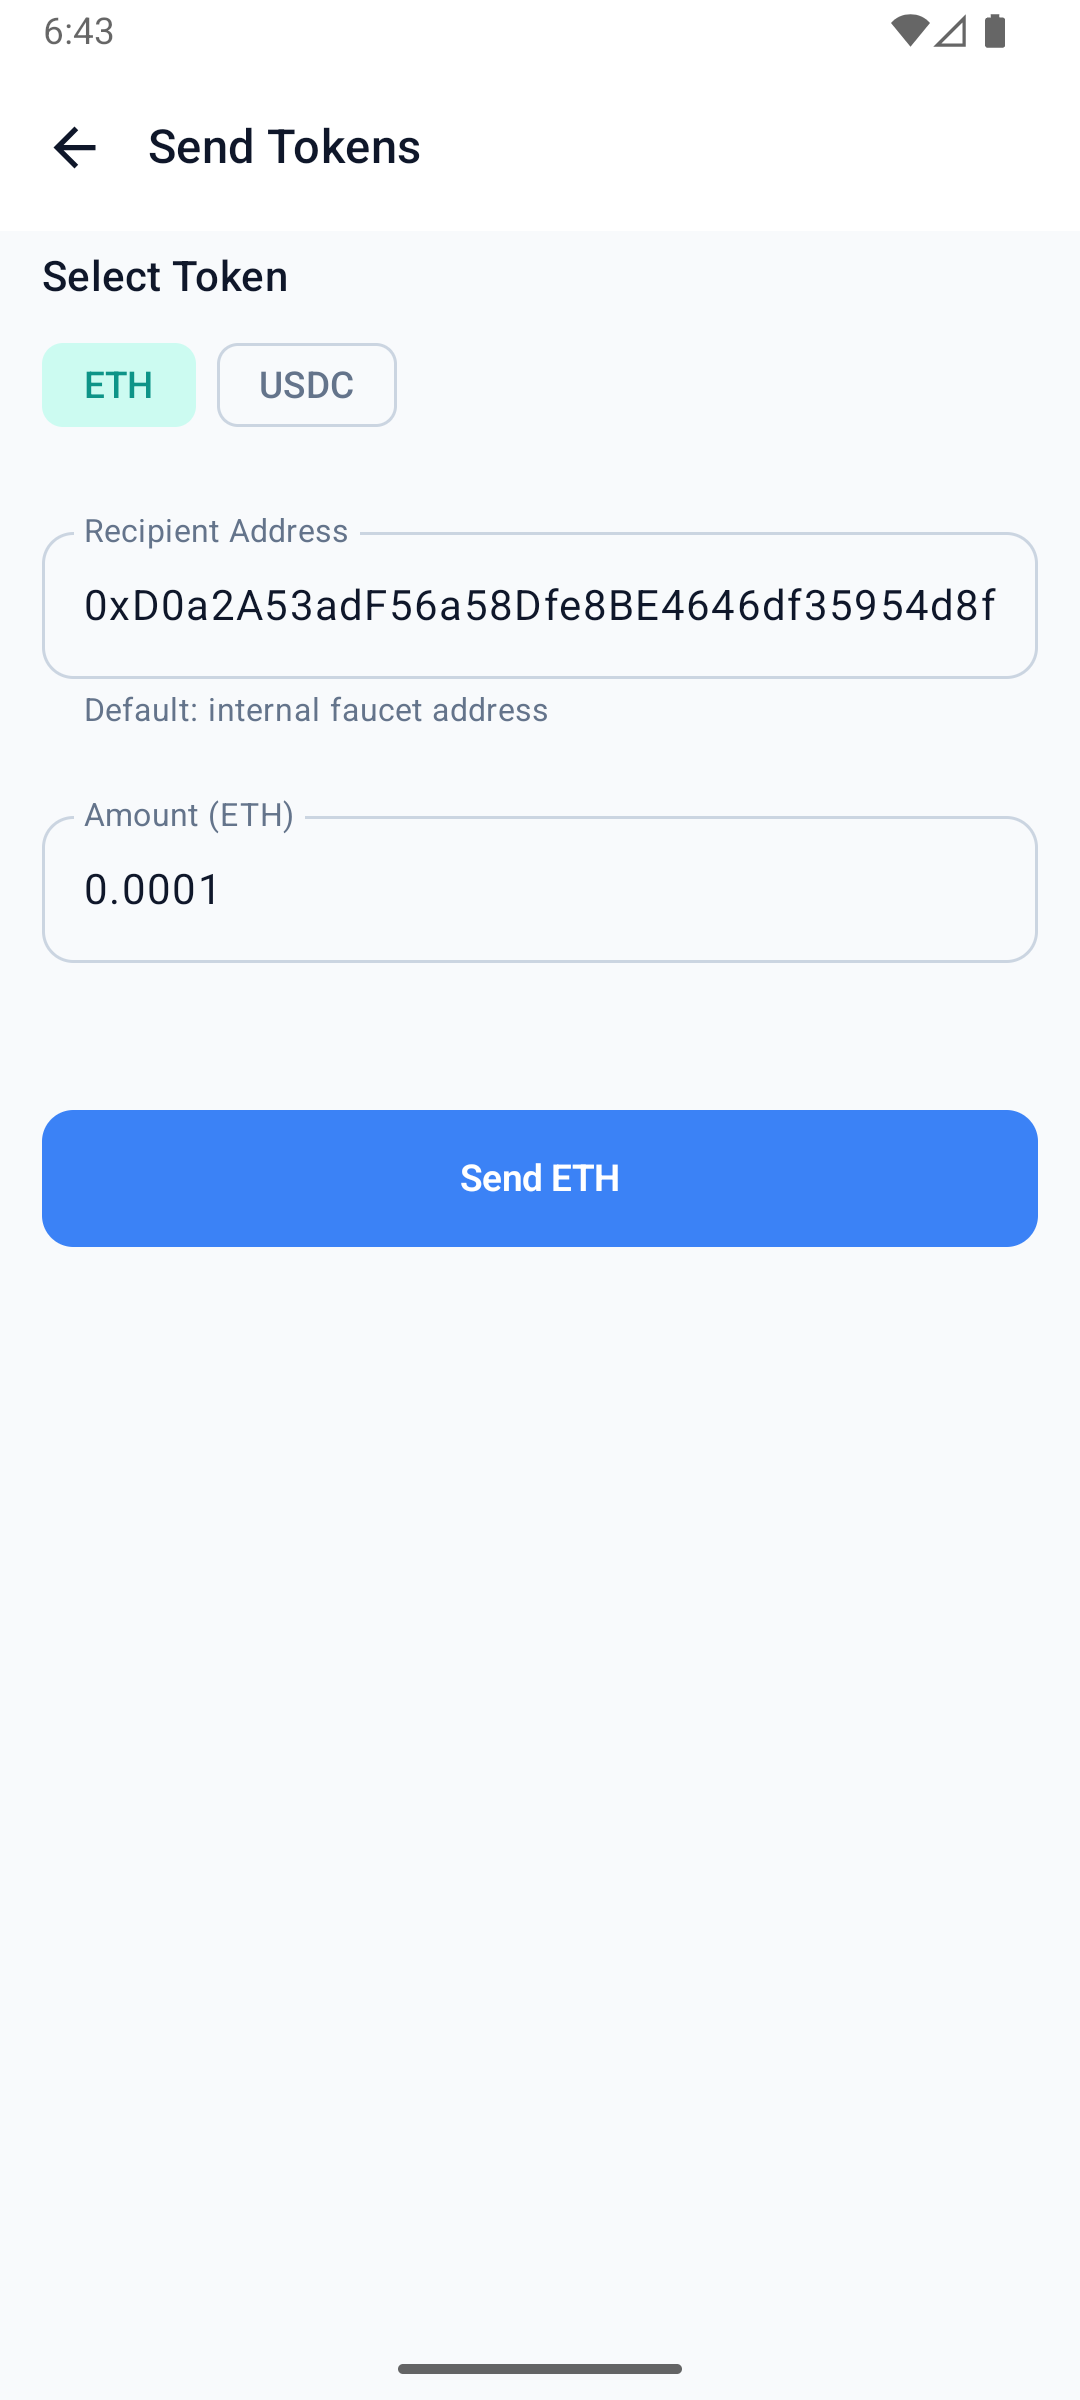
The example-hub reference wallet is a complete iOS app that creates a 2-of-2 MPC wallet and signs real Ethereum (Base Sepolia) and Solana (Devnet) transactions. This guide walks through its core MPC code — session setup, keygen, and signing. Clone the app to run the whole thing: wallet UI, funding, and on-chain transactions.
Prerequisites
For quick testing, the demo server is already deployed at demo-server.silencelaboratories.com. We are using this server for the quickstart guide.
The Cloud Verifying Key for the demo server is cfa1ff5424d14eb60614d7ddf65a32243d26ddf7000d10007853d7336395efe4. This is a 32-byte (64 hex character) Ed25519 key.
The Cloud Node Endpoint for the demo server is demo-server.silencelaboratories.com.
Setup the Mobile SDK (iOS)
The quickest way to get running is to clone the reference app and launch it:
git clone https://github.com/silence-laboratories/examples-hub.git
cd examples-hub/silent-shard-sdk/with-ios/duo-initiator
Authenticate the private SPM package by adding your GitHub account in Xcode → Settings → Accounts (see Dependency Installation below for details), then open SilentShardWalletDuo.xcodeproj in Xcode, let Swift Package Manager resolve the dependencies, and run it on a device or simulator. It talks to the public demo server out of the box, so you can create a wallet and sign a transaction right away. The full file-by-file walkthrough (keygen, signing, export, key refresh, and more) is in Android & iOS reference apps.
Session Creation
A DuoSession is the handle for all MPC operations (keygen, sign, and so on). The reference app builds one session per algorithm inside its VaultSessionManager:
init() {
    let fileStorage = EncryptedFileStorage()
    let signer: MessageSigner
    do {
        // SecureEnclaveMessageSigner is the app's own implementation of the SDK's MessageSigner
        // interface, signing with a hardware-backed key (Secure Enclave).
        signer = try SecureEnclaveMessageSigner()
    } catch {
        fatalError("Failed to initialize Secure Enclave: \(error). Use a physical device.")
    }
    self.messageSigner = signer
    self.store = fileStorage
    // EncryptedStorageClient is the app's own implementation of the SDK's StorageClient
    // interface, one per algorithm (ECDSA / EdDSA).
    self.ecdsaStorage = EncryptedStorageClient(store: fileStorage, algorithm: .ecdsa)
    self.eddsaStorage = EncryptedStorageClient(store: fileStorage, algorithm: .eddsa)
}

private func createWebsocketConfig() -> WebsocketConfig {
    WebsocketConfig(url: Self.demoServerUrl, port: 443, isSecure: true)
}

// One DuoSession per algorithm, each bound to the message signer, the cloud
// verifying key, the websocket config, and its storage client.
private func getEcdsaSession() -> DuoSession {
    if let session = ecdsaSession { return session }
    let session = SilentShard.ECDSA.duoInitiator(
        messageSigner: messageSigner,
        cloudVerifyingKey: Self.cloudVerifyingKey,
        websocketConfig: createWebsocketConfig(),
        storageClient: ecdsaStorage
    )
    ecdsaSession = session
    return session
}

private func getEddsaSession() -> DuoSession {
    if let session = eddsaSession { return session }
    let session = SilentShard.EdDSA.duoInitiator(
        messageSigner: messageSigner,
        cloudVerifyingKey: Self.cloudVerifyingKey,
        websocketConfig: createWebsocketConfig(),
        storageClient: eddsaStorage
    )
    eddsaSession = session
    return session
}
SecureEnclaveMessageSigner and EncryptedStorageClient are not SDK types — they are the reference app's own implementations of the SDK's MessageSigner and StorageClient interfaces (Secure Enclave-backed P-256 signing and encrypted keyshare storage). Supply your own implementations, or clone the example-hub app to use these as-is.
Run the MPC operations
After creating the session, you can perform MPC operations.
Key Generation
Generate MPC keyshares with the keygen method. It returns a keyId (a String); the SDK persists the keyshare to your StorageClient and every later operation is addressed by that keyId. Here is how the reference app does it:
func keygen(type: KeyType) async throws -> KeygenResult {
    log.info("Keygen started: \(type.rawValue)")
    // sessionForKeyType(...) is this app's own helper (not an SDK method) — it returns the DuoSession
    // we created earlier for this algorithm (ECDSA or EdDSA).
    let session: DuoSession = sessionForKeyType(type)
    // keygen() is the SDK call: runs the MPC protocol, persists the keyshare to your
    // StorageClient, and returns the keyId that addresses it.
    let keyId = try await session.keygen().get()
    let publicKey = try await extractPublicKey(keyId: keyId)
    log.info("Keygen completed: keyId=\(keyId), pubKey=\(publicKey.count) bytes")
    return KeygenResult(keyId: keyId, publicKey: publicKey)
}
Signature Generation
Sign a message using the sign method, passing the keyId returned from keygen:
func sign(keyId: String, message: Data, derivationPath: String) async throws -> Data {
    log.info("Sign started: keyId=\(keyId), msg=\(message.count) bytes")
    let record = try loadRecord(keyId: keyId)
    let messageHex = message.map { String(format: "%02x", $0) }.joined()
    // sessionForKeyType(...) is this app's own helper (not an SDK method) — it returns the DuoSession
    // we created earlier for this key's algorithm (the stored record's keyType).
    let session: DuoSession = sessionForKeyType(record.keyType)
    // sign() is the SDK call: it produces the threshold signature for the key addressed by keyId.
    let sig = try await session.sign(keyId: keyId, message: messageHex, derivationPath: derivationPath).get()
    log.info("Sign completed: \(sig.count) bytes")
    return sig
}
The SecureEnclaveMessageSigner, EncryptedStorageClient, and WebSocket client shown are the reference app's implementations — hence for reference only, not a recommendation. Provide your own for production.
Setup your own app
Prefer to wire the SDK into your own app instead of the reference project? Create a new Xcode project by following the official guide (or use an existing one), then add the SilentShard dependency.
Dependency Installation
Step 1: Create Package URL
- Get access to the repository https://github.com/silence-laboratories/silent-shard-artifacts from the Silence Laboratories team.
- Get the package URL
- Add GitHub account : Skip this step if you already have added your GitHub account in Xcode. You can add your GitHub account by following the steps ( only until it adds your GitHub account).
- Final package URL: https://github.com/silence-laboratories/silent-shard-artifacts.
Step 2: Open Package(SPM) Collection Window
- In Xcode, open the Project Navigator.
- Select the project file (the root item in the navigator).
- In the Project Editor, select your project(Your Xcode Project title under
Projectsection). - Navigate to the Package Dependencies tab. See below

- Click the + icon (hint :Add Package Dependency) at the bottom of the Package Dependencies section.
- A dialog box will appear prompting you to enter a package URL.
Step 3: Add Package
- Copy the package URL (We get this from Step 2).
- Paste this URL into the
Search or Enter Package URLbox.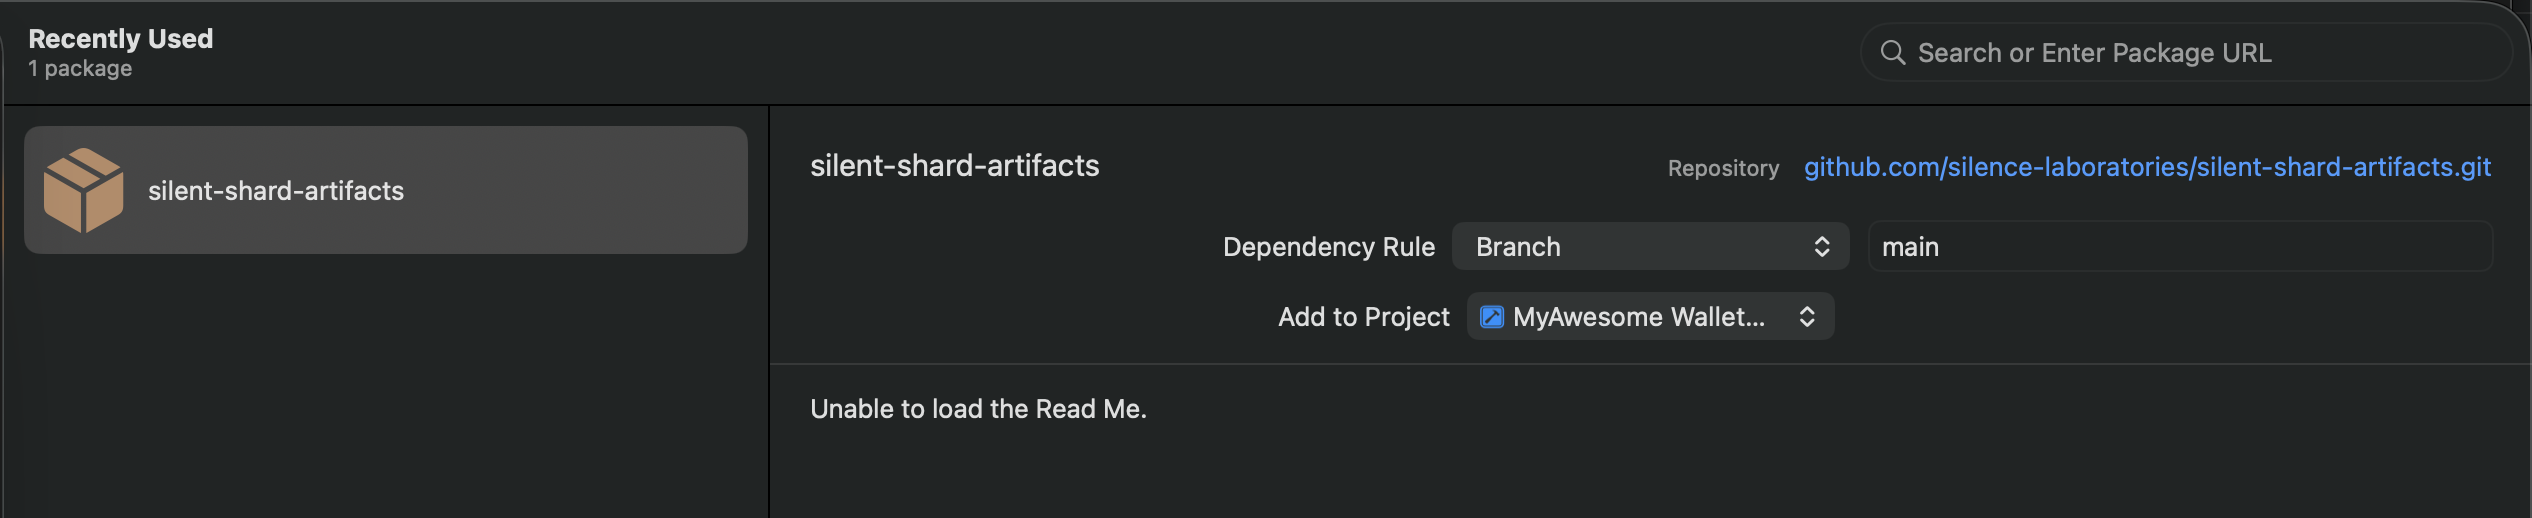
- Select the
silentshard-artifactson the left panel. - Click Add Package to proceed.
Step 4: Confirm and Add Package
- Xcode will fetch the package details.
- Add library
duoto your targets By clicking dropdown from the " Add to Target" items.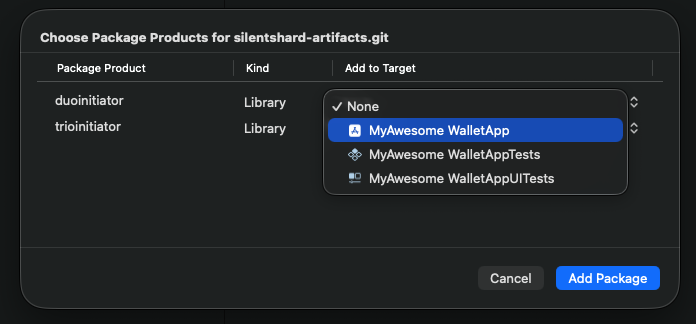
- Click Add Package to complete the installation.
With the SDK package added, wire it up the same way the reference app does — create a session, then run keygen and signing.
Optional: Run your own Duo Server
Install Docker
- Linux
- macOS
- Windows
curl -fsSL https://get.docker.com | sh
Download and install Docker Desktop from the official website.
Alternatively, you can install using Homebrew:
brew install --cask docker
Download and install Docker Desktop from the official website.
Make sure to enable WSL 2 backend during installation for better performance.
Install OpenSSL
- Linux
- macOS
- Windows
# Ubuntu/Debian
sudo apt-get update && sudo apt-get install openssl
OpenSSL is usually pre-installed on macOS. To install or update using Homebrew:
brew install openssl
Download and install from the official OpenSSL website.
Alternatively, you can install using Chocolatey:
choco install openssl
Or using Windows Package Manager:
winget install OpenSSL.OpenSSL
Generate GitHub Personal Access Token
Get a Personal Access Token from GitHub if you don't have one.
Guide to generate GitHub Personal Access Token
- Go to GitHub Personal Access Tokens
- Click on "Generate new token", we are using the classic token for this guide.
- Enter a name for the token
- Select the "read::packages Download packages from GitHub Package Registry" scope.
- Generate the token.
Login to Docker Registry
Login to docker using Personal Access Token and your GitHub username.
echo <PAT> | docker login ghcr.io -u <username> --password-stdin
Start the Server
For local setup, let's use this example docker-compose.yml
services:
  duo-server:
    image: ghcr.io/silence-laboratories/dkls23-rs/duo-server:v4
    command: /usr/local/bin/sigpair-node
    environment:
      RUST_LOG: info
      LISTEN: 0.0.0.0:8080
      DEV_MASTER_SIGN_KEY: /run/secrets/duo-signing-master-key
      FILE_STORAGE_URL: file:///data/
    ports:
      - 8080:8080
    volumes:
      - duo-server-data:/data
    secrets:
      - duo-signing-master-key

volumes:
  duo-server-data:

secrets:
  duo-signing-master-key:
    file: ${MESSAGE_SIGNING_KEY:-./party_0_sk}
The docker compose file is configured to use the party_0_sk file in the root of the project. party_0_sk is the random bytes used as seed to create the server private key.
Create the party_0_sk file with random bytes in the root of the project.
openssl rand 32 > party_0_sk
Now let's start the server by running
docker compose up
If everything was setup correctly, the server should be running with these logs
Attaching to duo-server-1
duo-server-1  | WARN: The dotenv file is not set
duo-server-1  | 2025-09-16T09:59:09.200234Z  INFO sigpair_node: Creating SimpleStorage
duo-server-1  | 2025-09-16T09:59:09.201975Z  INFO sigpair_node: Party VK <YOUR_CLOUD_VERIFYING_KEY_HEX_STRING>
duo-server-1  | 2025-09-16T09:59:09.202413Z  INFO sigpair_node: listening on 0.0.0.0:8080
Great! The server is now setup to perform MPC actions with our mobile.
In logs you will notice a hex string of length 66 (33 bytes) logged as the Party VK. This is the YOUR_CLOUD_VERIFYING_KEY_HEX_STRING the server uses to verify requests from the other party (in this case, our mobile app). The SDK expects the 32-byte key, so drop the leading 01 byte and use the remaining 32 bytes as the cloudVerifyingKey.
The YOUR_CLOUD_NODE_ENDPOINT is the endpoint of the server. To reach a server running on your machine from the iOS simulator or a physical device, use your machine's LAN IP address (e.g. 192.168.1.100:8080). Note: 10.0.2.2 only works on the Android emulator, not on iOS.
The isSecure flag on WebsocketConfig indicates whether the connection is WSS (secure) or WS. Use true for a secure connection; use false for a local server. For a local dev server, pass the bare host/IP with port and isSecure: false, e.g. WebsocketConfig(url: "192.168.1.100", port: 8080, isSecure: false).