Auth0
Only needed when self-hosting. The sandbox uses a pre-filled demo Auth0 tenant — see the Quick Start.
Auth0 handles user authentication. When a user signs in, Auth0 issues a JWT access token which the app passes to auth-svc to register and identify the user.
1. Create the Auth0 application
Sign in to the Auth0 dashboard and go to Applications → Create Application.
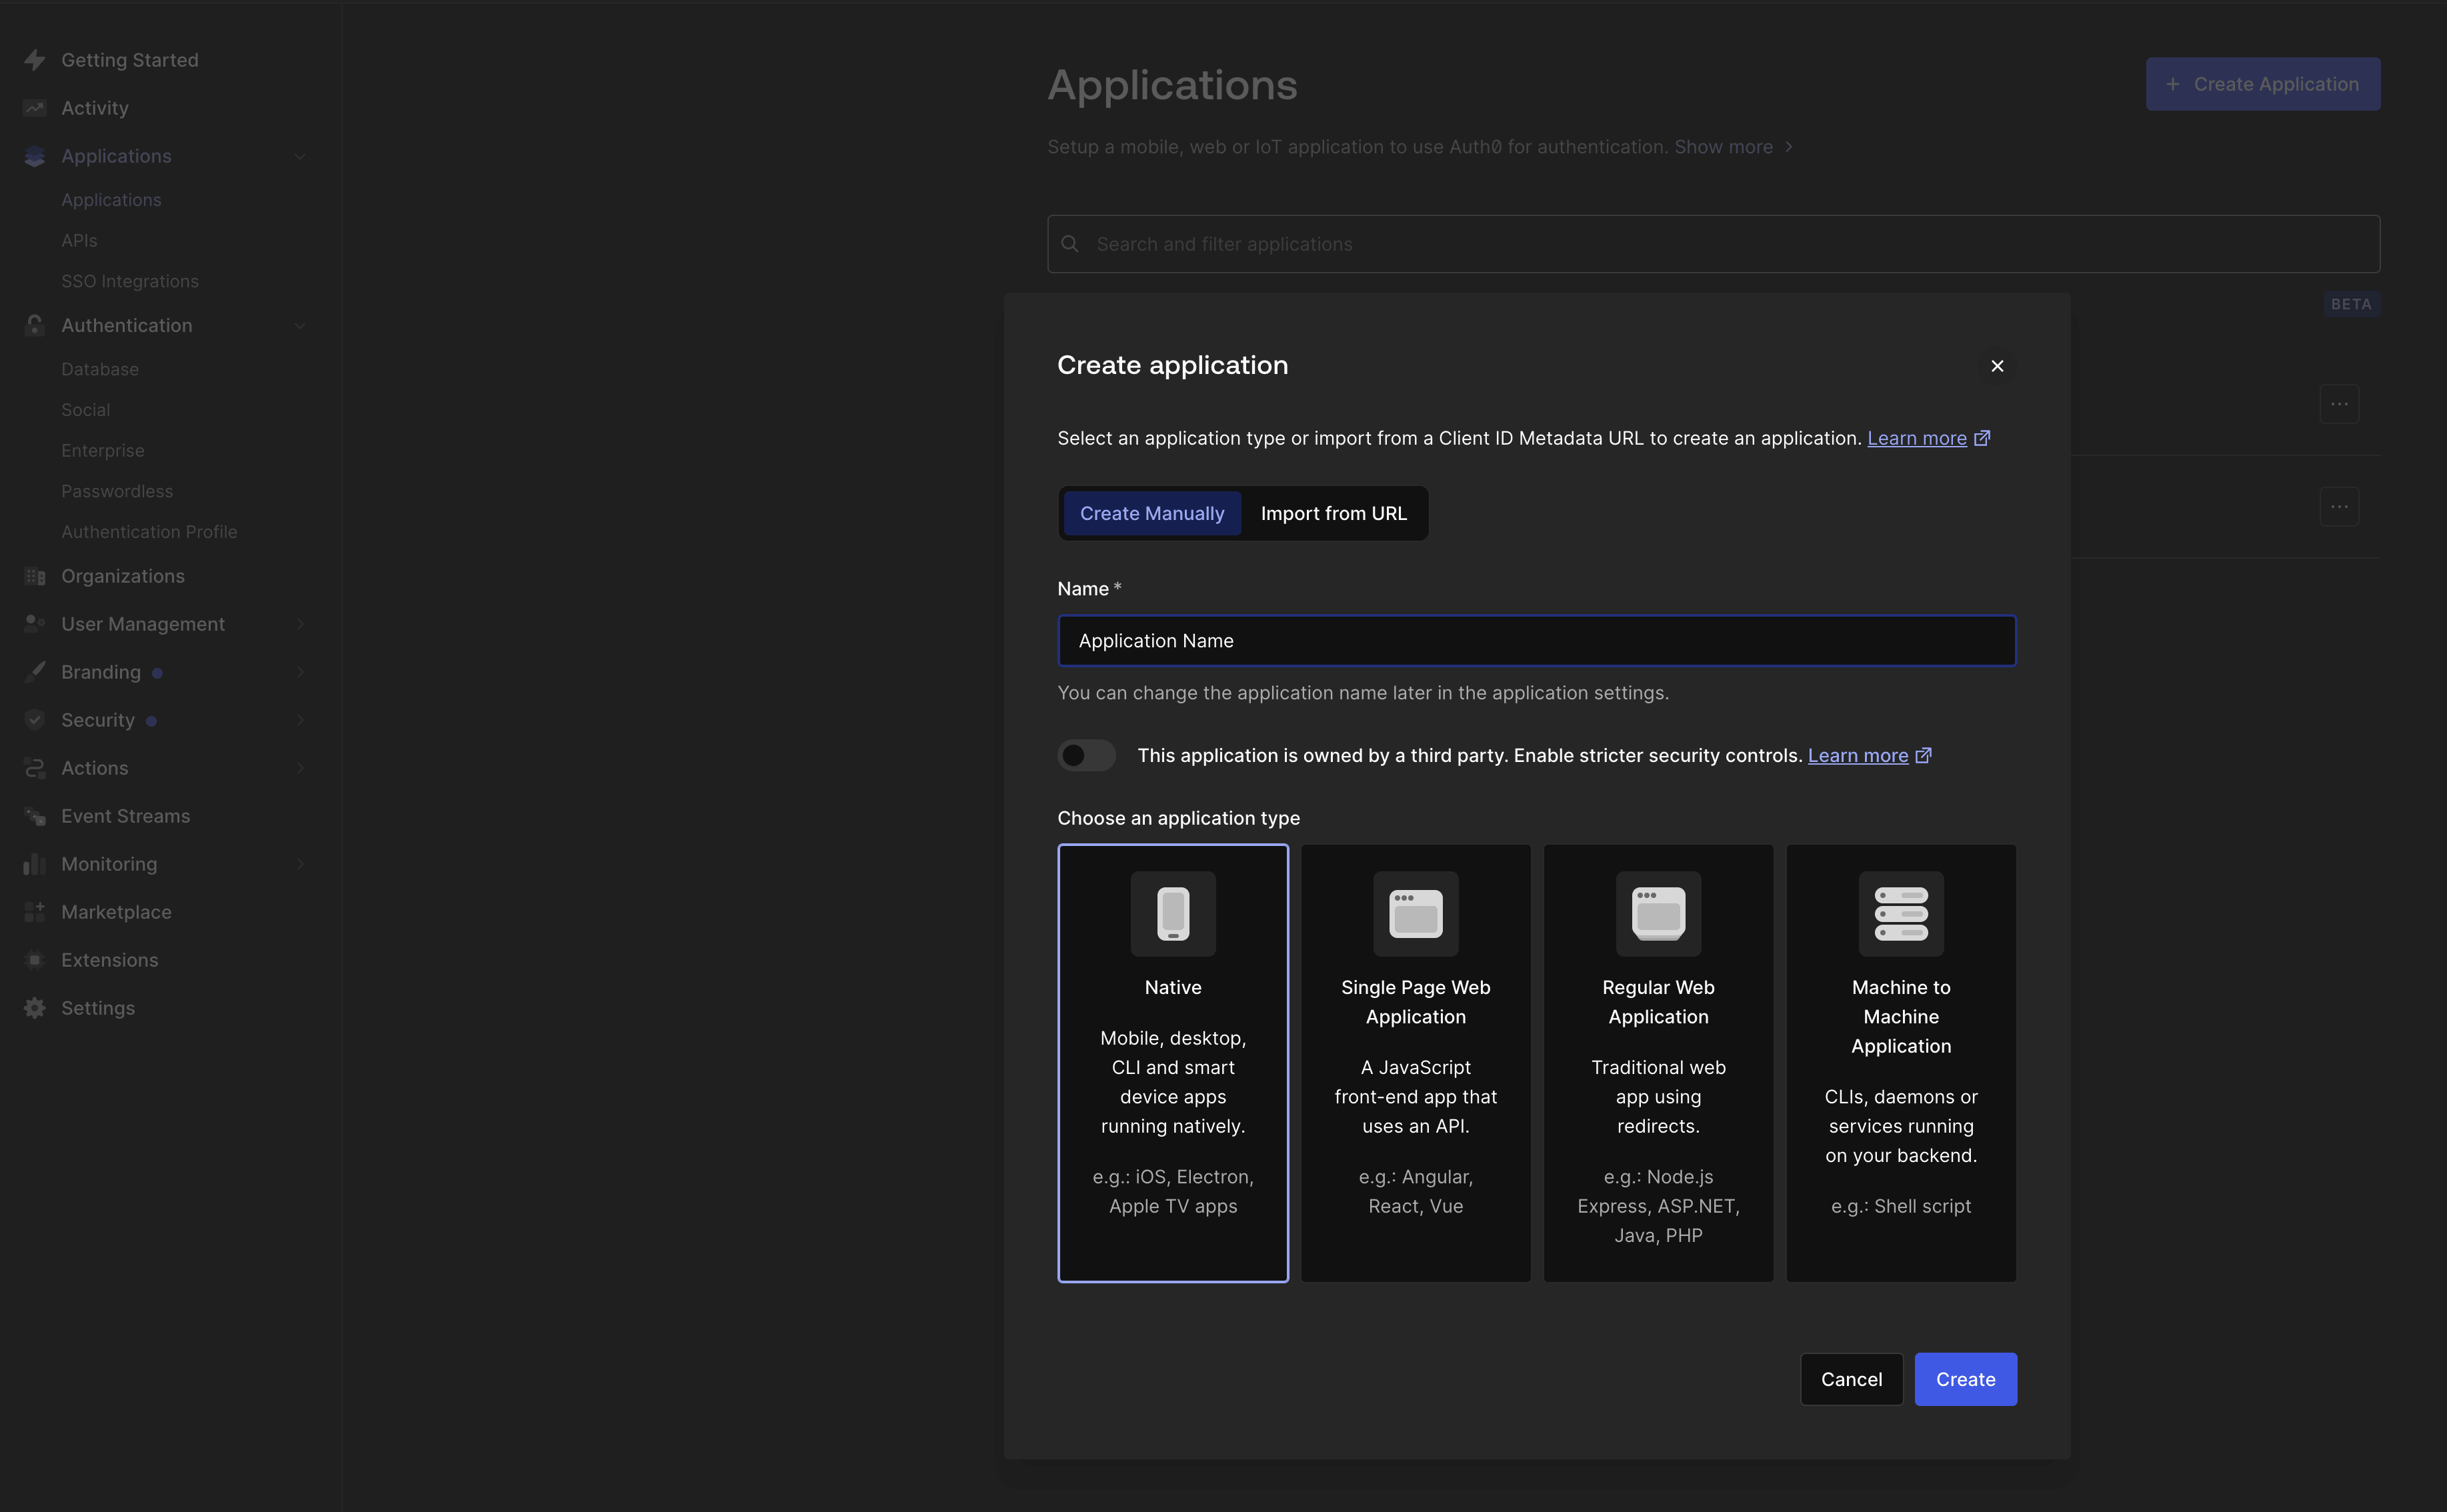
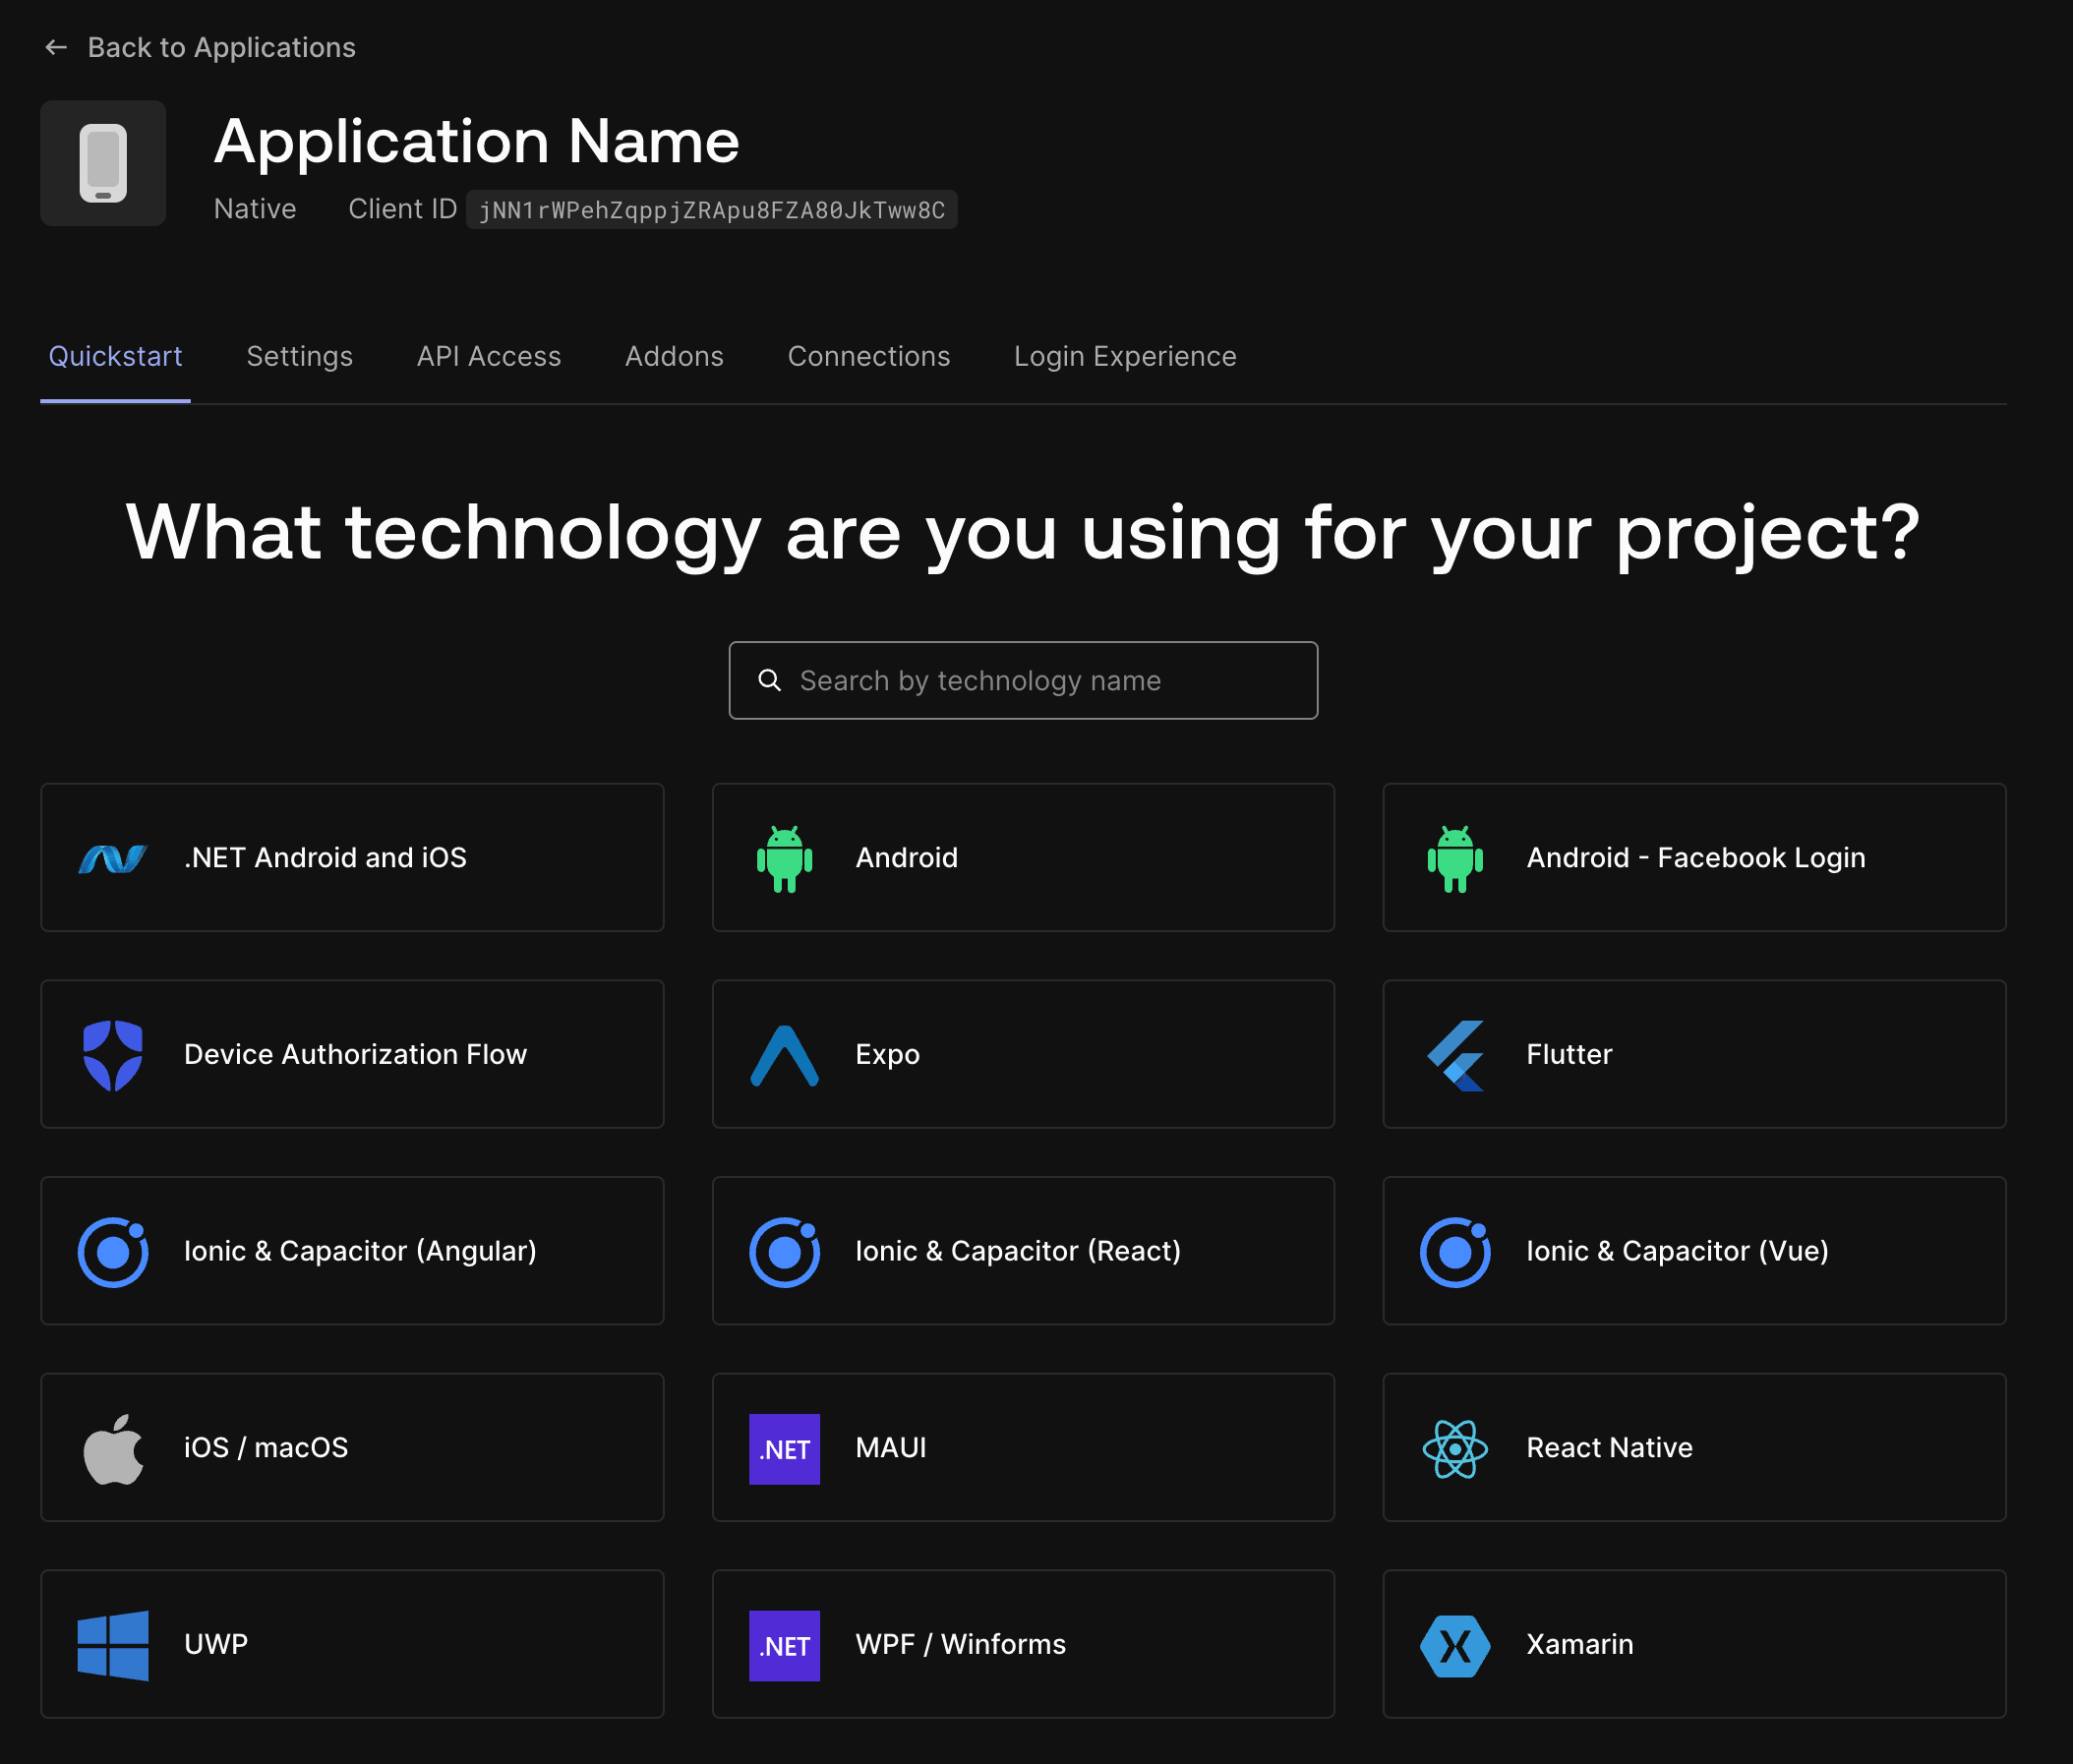
Choose React Native as the application type.
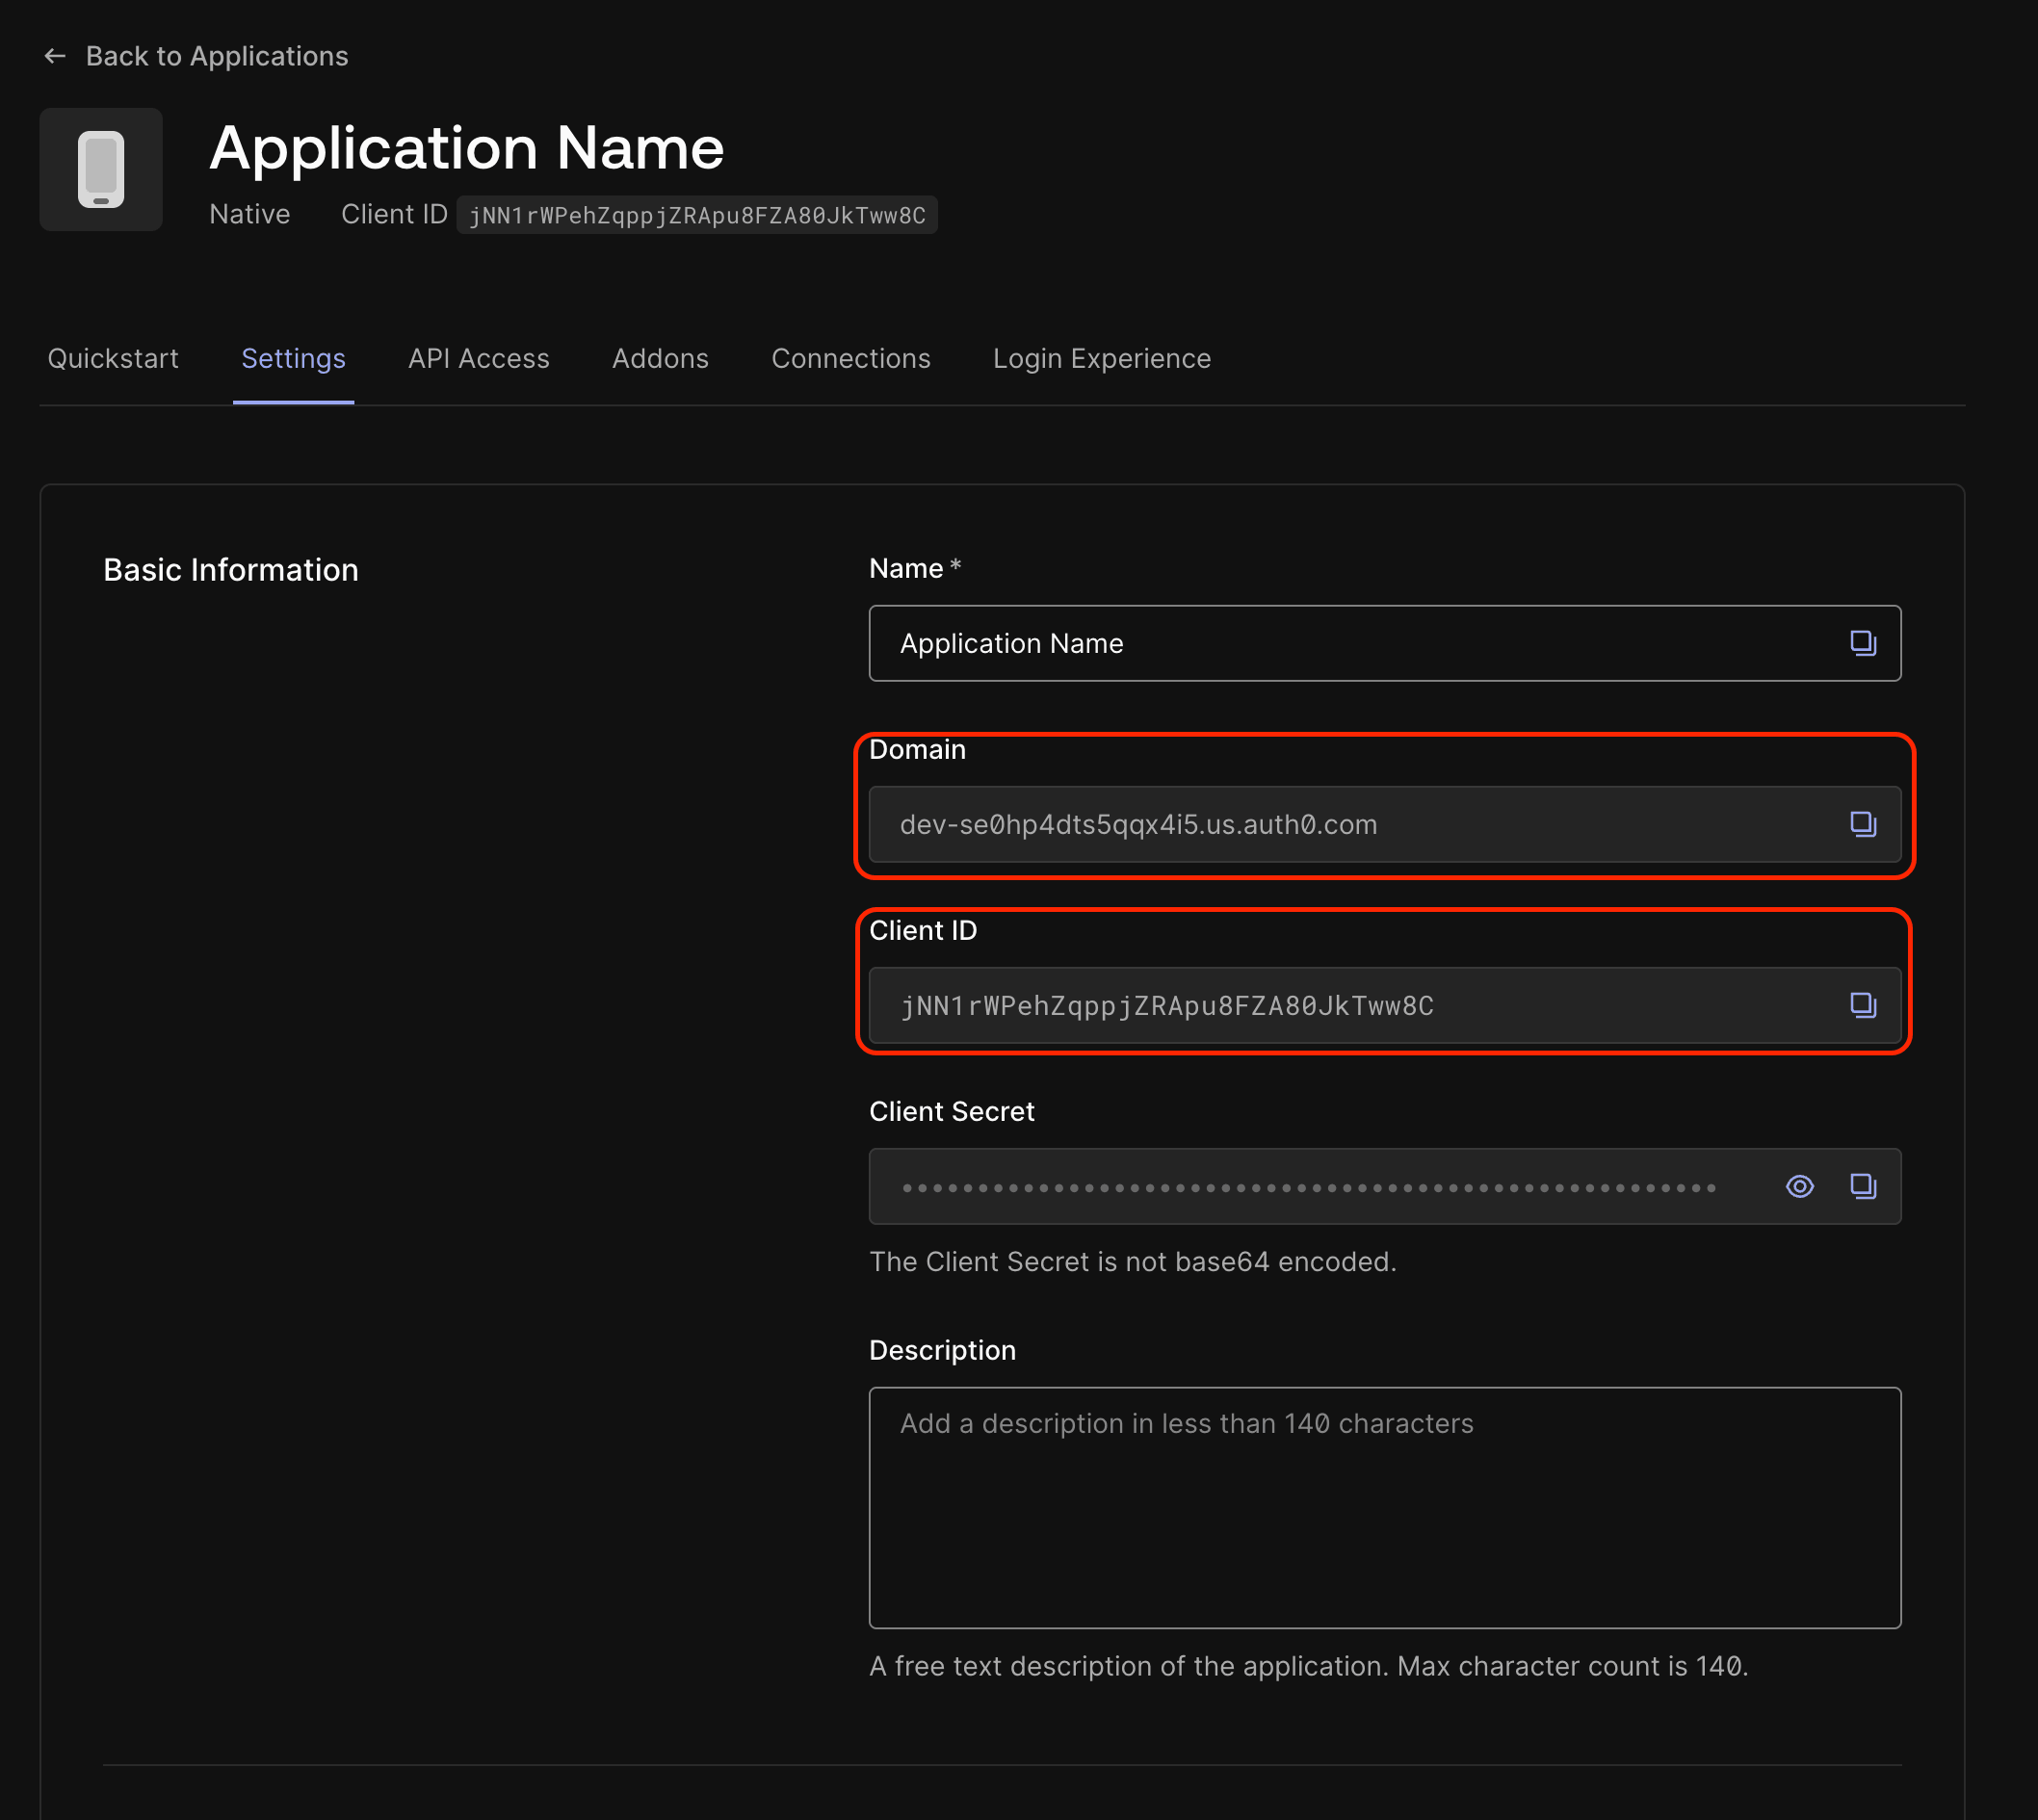
Open the application's Settings tab and note the Domain and Client ID — you'll add these to .env in step 3.
Then create the API + scopes by following the auth-svc Auth0 guide — the API and its scopes are shared with your backend. Come back here for the callback URLs, .env values, and optional login methods (Google SSO, Passkey) below.
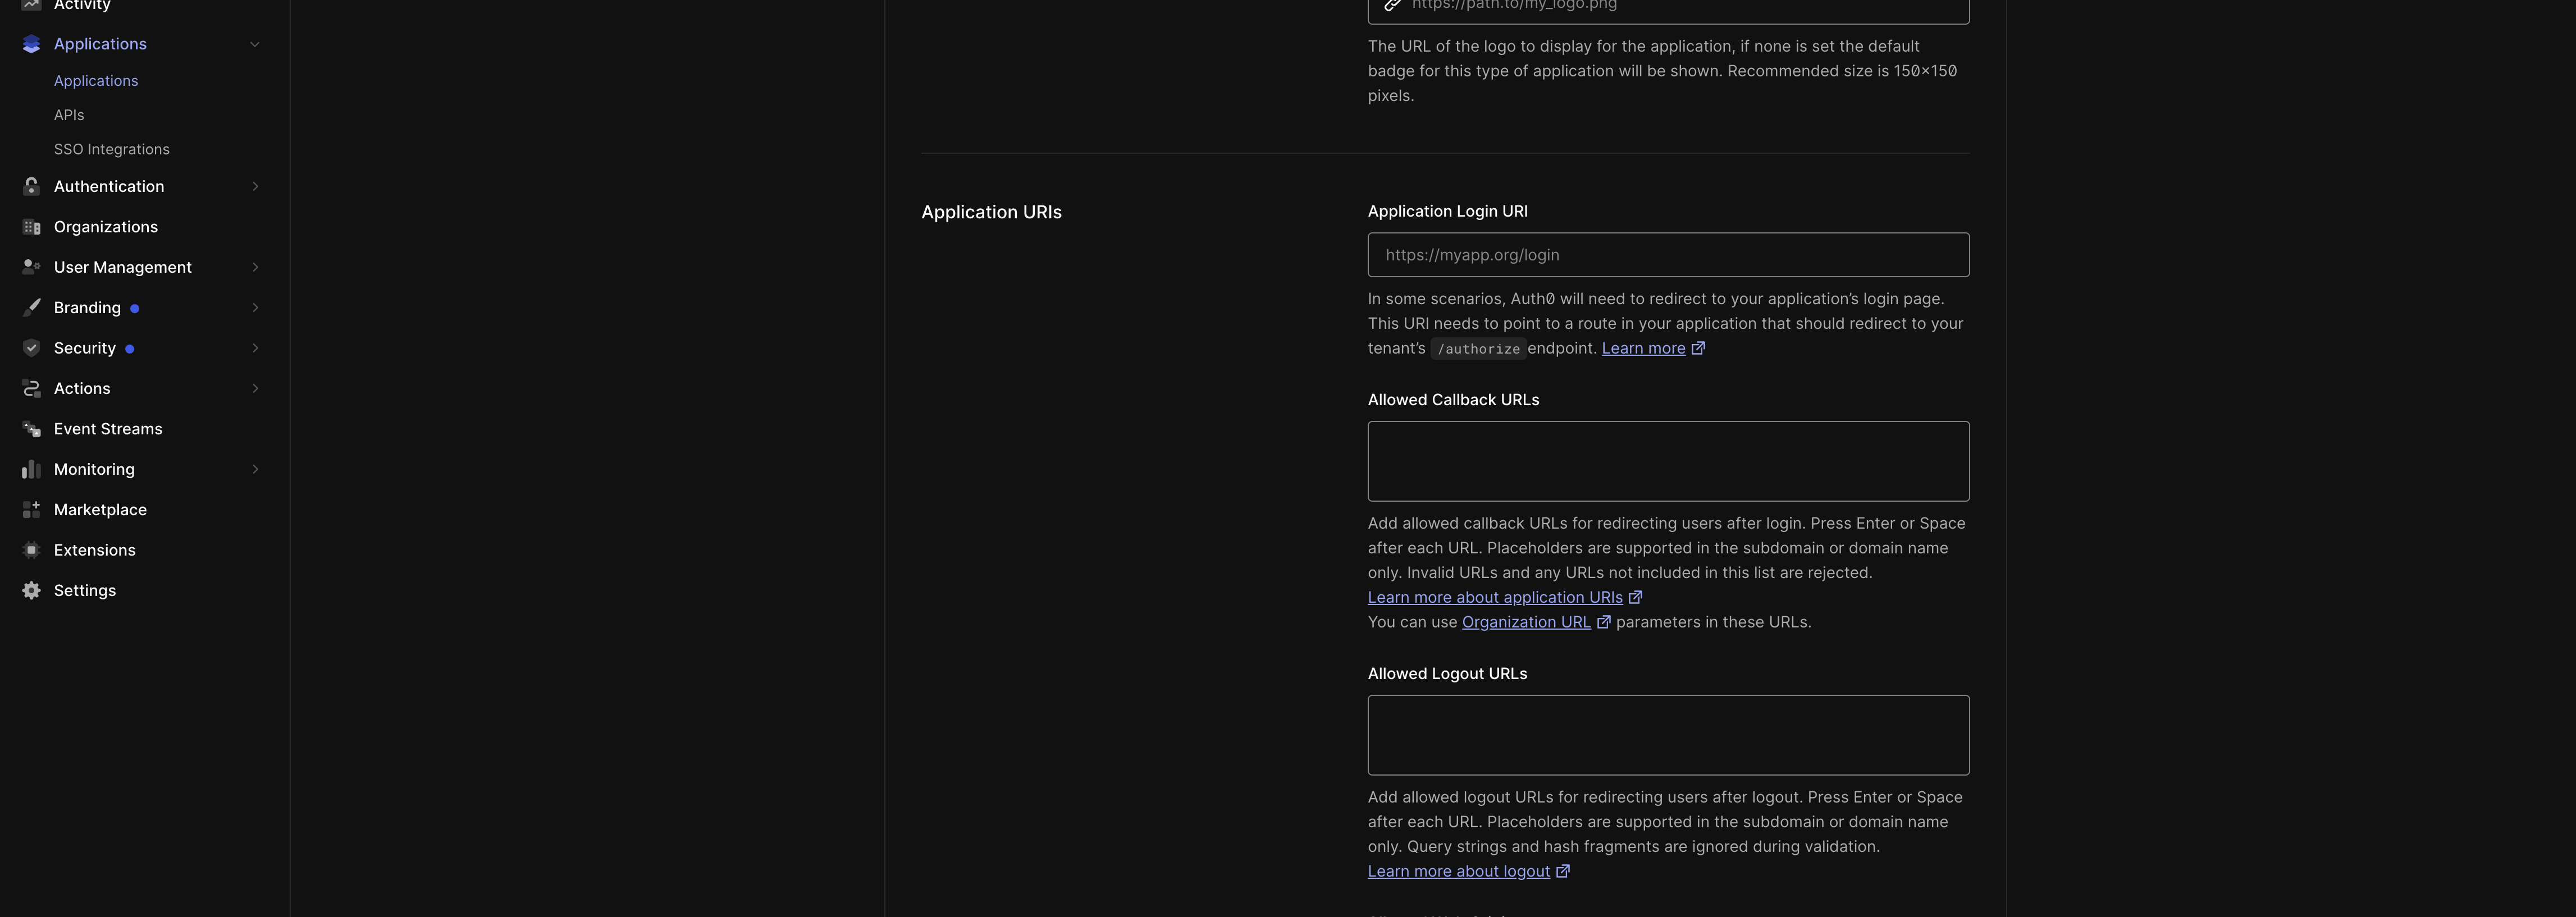
2. Configure callback URLs
The app authenticates through Auth0's mobile SDK, which needs its redirect URLs allow-listed. In your Auth0 application's Settings, add both URLs below to Allowed Callback URLs and Allowed Logout URLs:
iOS
{YOUR_IOS_BUNDLE_ID}.auth0://{YOUR_AUTH0_DOMAIN}/ios/{YOUR_IOS_BUNDLE_ID}/callback
Android
{YOUR_ANDROID_PACKAGE_NAME}.auth0://{YOUR_AUTH0_DOMAIN}/android/{YOUR_ANDROID_PACKAGE_NAME}/callback
Replace the placeholders:
{YOUR_IOS_BUNDLE_ID}— the app's iOS bundle identifier fromios.bundleIdentifierinapp.config.ts. The boilerplate default iscom.silencelaboratories.boilerplate.silentshield.{YOUR_ANDROID_PACKAGE_NAME}— the app's Android package name fromandroid.packageinapp.config.ts. The boilerplate default iscom.silencelaboratories.boilerplate.silentshield.{YOUR_AUTH0_DOMAIN}— your Auth0 tenant domain (e.g.your-tenant.auth0.com).
Copy only the URL — don't include the "iOS" / "Android" labels.
3. Add values to .env
Copy your Auth0 Domain and Client ID, and your Auth0 API Identifier, into the app's .env:
EXPO_PUBLIC_AUTH0_DOMAIN=your-tenant.auth0.com
EXPO_PUBLIC_AUTH0_CLIENT_ID=your_client_id
EXPO_PUBLIC_AUTH0_AUDIENCE=silent-shard-boilerplate
EXPO_PUBLIC_AUTH0_AUDIENCE must exactly match the Identifier of your Auth0 API — which is also the AUTH0_AUDIENCE configured in auth-svc. A mismatch causes token verification to fail on the backend.
Optional: Enable offline access
Offline access lets the app receive a refresh token so the user's session persists without re-authenticating on every launch. The app already requests the offline_access scope — you just need to enable it on the Auth0 side:
- Applications → APIs → your API → Settings → enable Allow Offline Access.

- Applications → your application → Settings → Advanced Settings → Grant Types → make sure Refresh Token is checked.
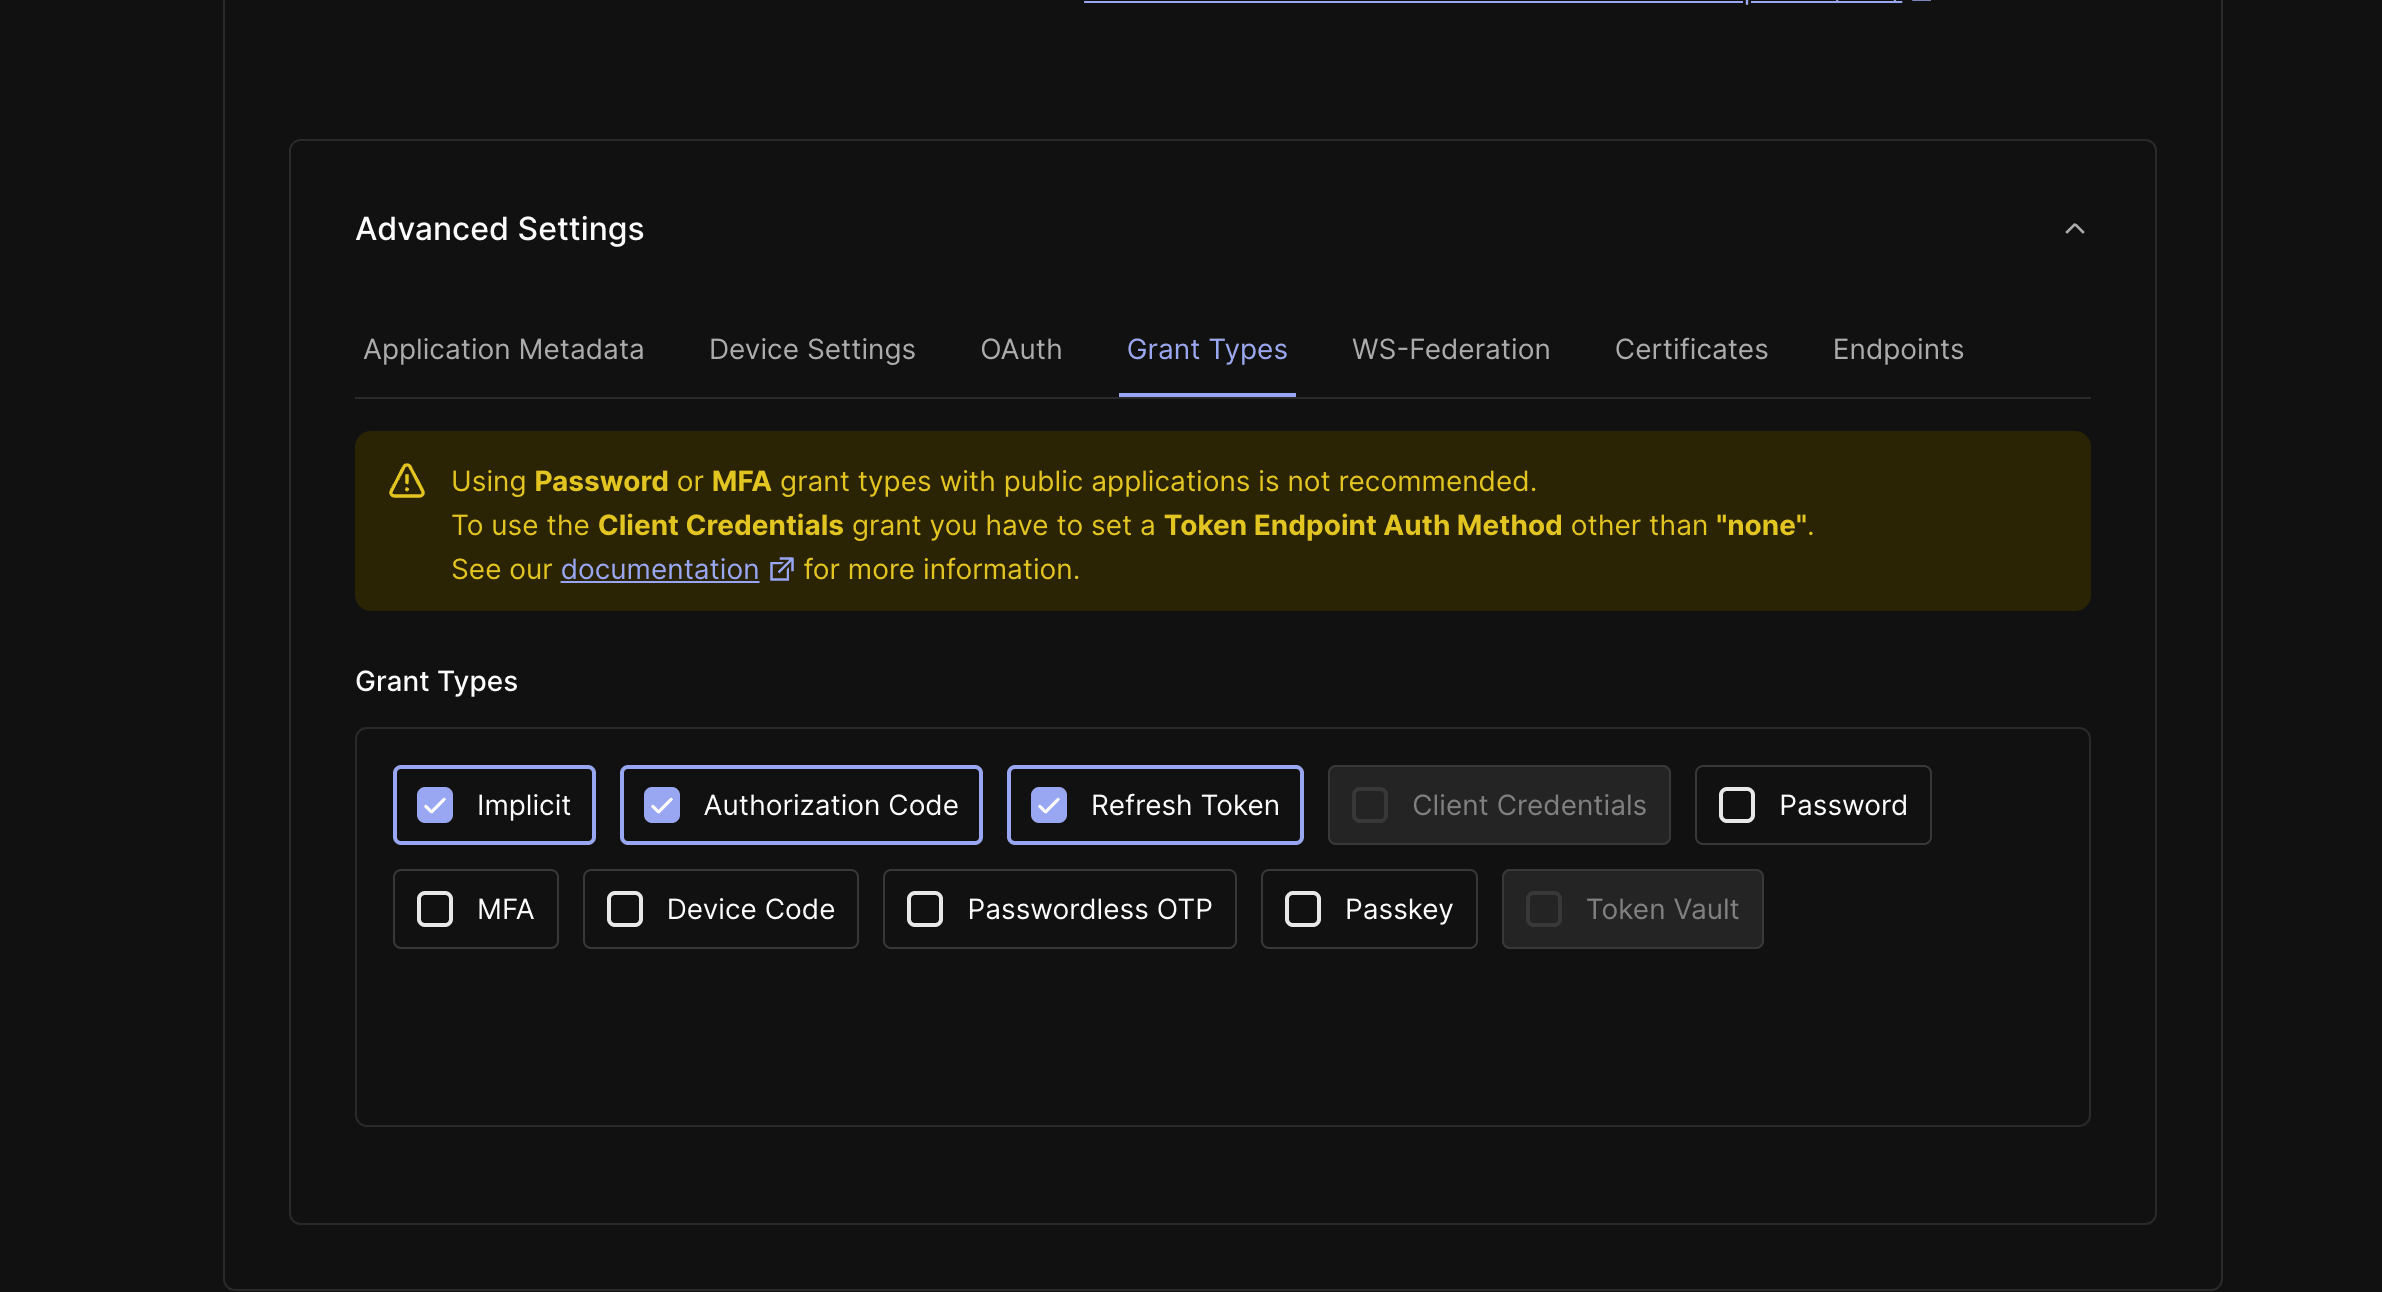
Once both are enabled, Auth0 returns a refresh token on login and the app keeps the user signed in across restarts.
Optional: Enable Google SSO
Let users sign in with their Google account:
- Go to Authentication → Social → Google / Gmail.
- On the Applications tab, make sure the connection is enabled for your React Native application.
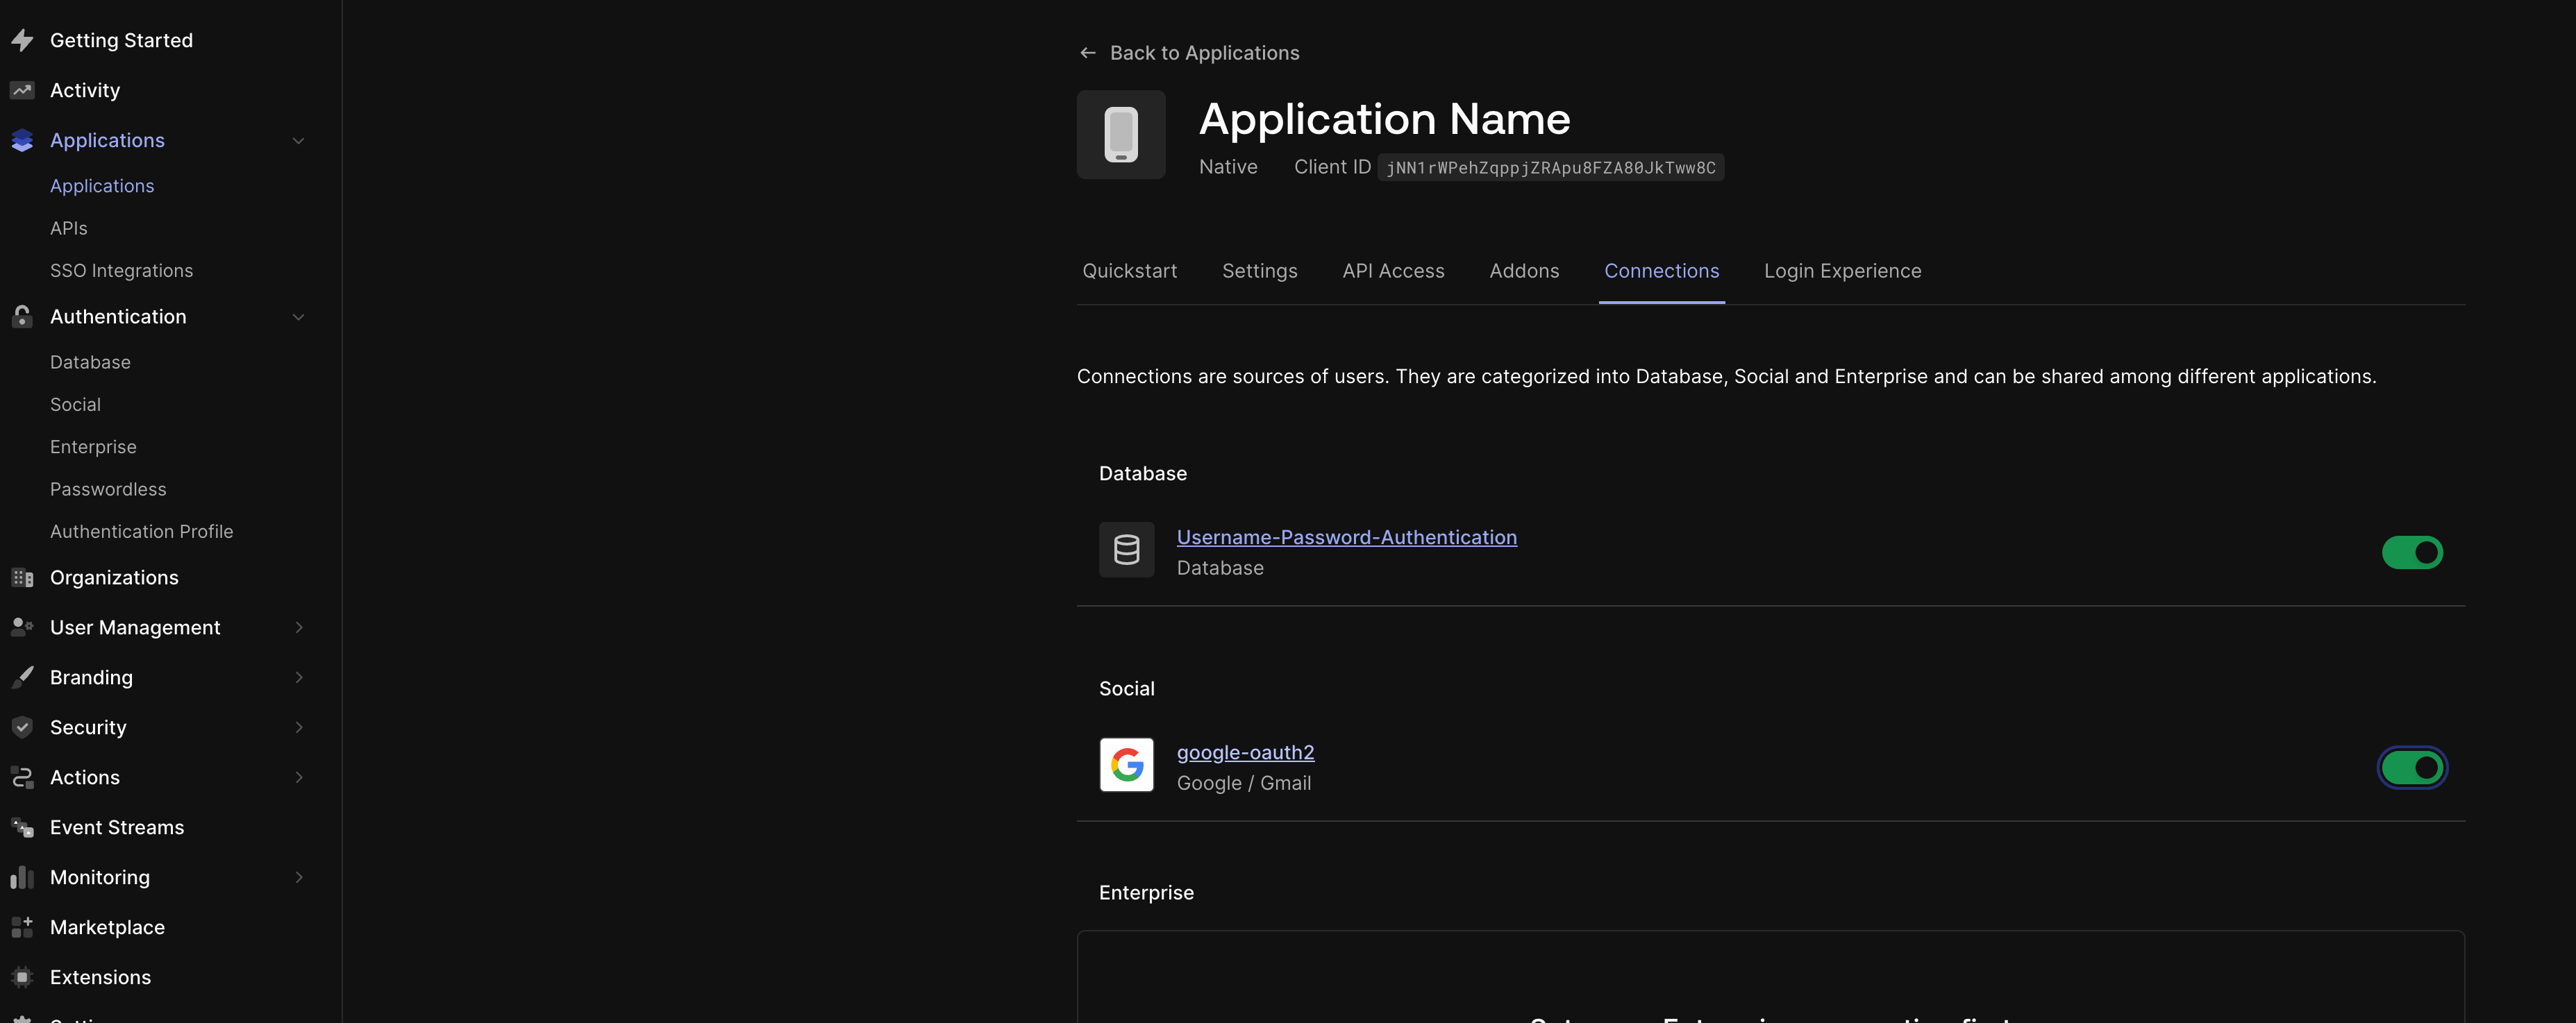
For production, configure the Google connection with your own credentials — see the Auth0 Google connection docs.
Optional: Enable Passkey
Passkeys are configured on your database connection, not under Passwordless:
- Go to Authentication → Database and select your database connection (e.g.
Username-Password-Authentication). - Open the Authentication Methods tab.
- In the Passkey section, click Configure, check Enable passkeys, then Save.
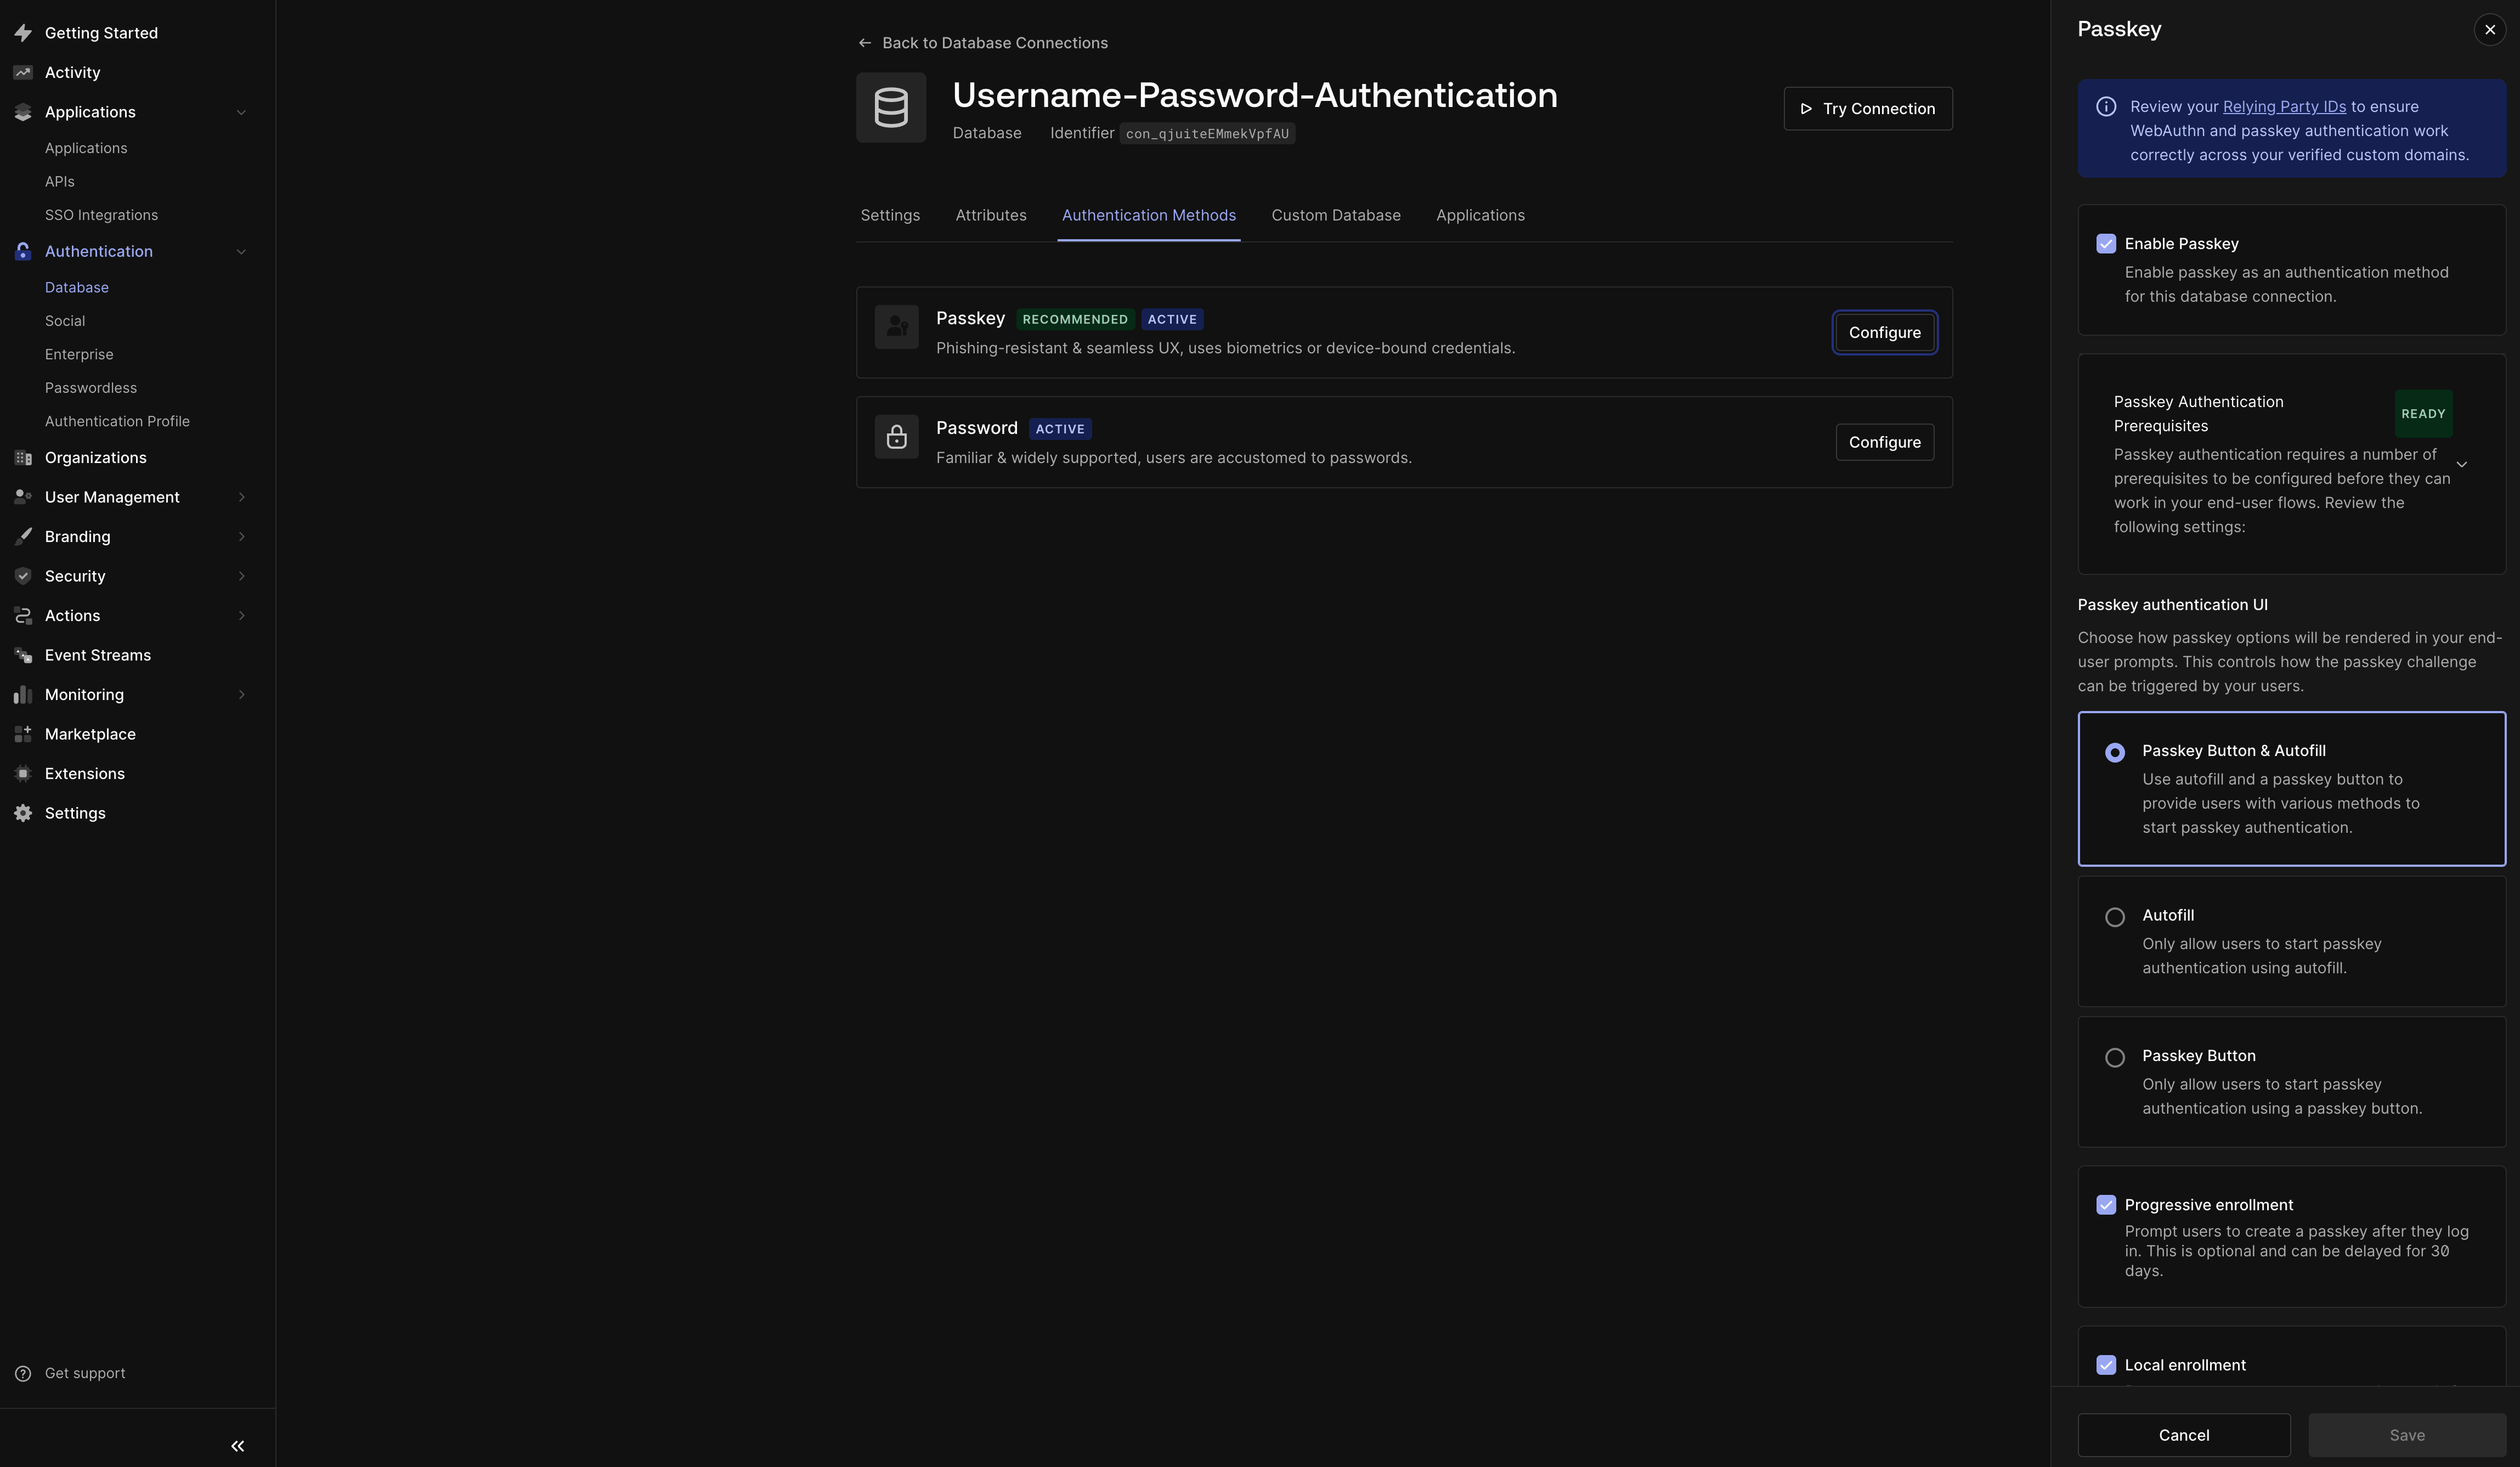
Passkeys require Universal Login with Identifier First authentication enabled at the tenant level. For production, see the Auth0 passkey docs.